When to use this page
Keep the prompt specific and retain the original image until the result has been checked.
Improve visible image detail with AI Unpixelate Image while keeping the original subject in view. Compare edges, faces, textures, and small text at the intended output size.
 Original
  Modified
 Keep the prompt specific and retain the original image until the result has been checked.
Check faces, text, product details, edges, and any rights-sensitive content. The generated result is a draft until you approve it.
Pixelation is missing information, and nothing gets the original pixels back. What this pass does is read the blocky mosaic you uploaded and redraw it: the built-in instruction names the blocky pixelation directly, asks for it to be removed, for detail to be sharpened, and for the photo to read as crisp and smooth. The subject stays the subject, in the same framing. It is a clarity pass, not a reshoot.
Where the source still holds real detail, the work is mostly edge cleanup. Where the source is a heavily downscaled thumbnail, neighbouring colours have already been averaged together, so the instruction is producing plausible detail rather than recovering recorded detail. That distinction shows up in three places first: faces, small text, and repeating patterns. A face can come back with an eye shaped slightly differently. A caption or a plate can come back with letters that look right until you read them. A fine check on a shirt can come back as a shimmering pattern that was never in the original.
Judge the file at the size it is going, not at whatever zoom your viewer happens to open at. Small type needs reading rather than squinting: if legibility is why you want the image clearer, compare the words letter by letter against the original, because a sharpened version can be confidently wrong. Where a face is the reason, put both files side by side and look at the eyes, the teeth, and the hairline. Keep the source file, since once you know what the pass changed, the original is the only reference you have left.
about unpixelating an image
The instruction asks for higher definition, but the added detail is generated rather than recovered, so a reconstruction shows its softness sooner than a genuinely sharp file would. The honest test is to view the result at the size you intend to output and decide whether the edges still hold. Keep the original next to it while you judge.
Because the built-in wording asks for smooth as well as crisp, and the smoothing does a lot of work on noisy areas. Skin, fabric, and grain are where that shows first. If texture matters in your shot, say so in the optional prompt box: its hint invites detail notes, so "keep the skin texture and the film grain" gives the pass something more useful than a general style request.
Not quite. Upscaling is about pixel count, and it can leave the mosaic intact because a larger block is still a block. This pass targets the blocky appearance itself and asks for sharpening at the same time, so it addresses the artifact rather than only the dimensions.
Usually a little. Repeated compression and downscaling have already averaged information away at each stage, and small text is the first casualty, so expect cleaner edges and reread any type before you trust it. If the words matter, the source document beats any reconstruction of its picture.
Improve visible image detail with AI Unpixelate Image while keeping the original subject in view. Compare edges, faces, textures, and small text at the intended output size.
Compare the result with the original, inspect the details that matter to your task, and keep the original until the output is approved.
Transform your images instantly using powerful AI Image Editor AI tools.
Try AI Unpixelate Image NowDiscover more AI-powered tools to enhance and transform your images.
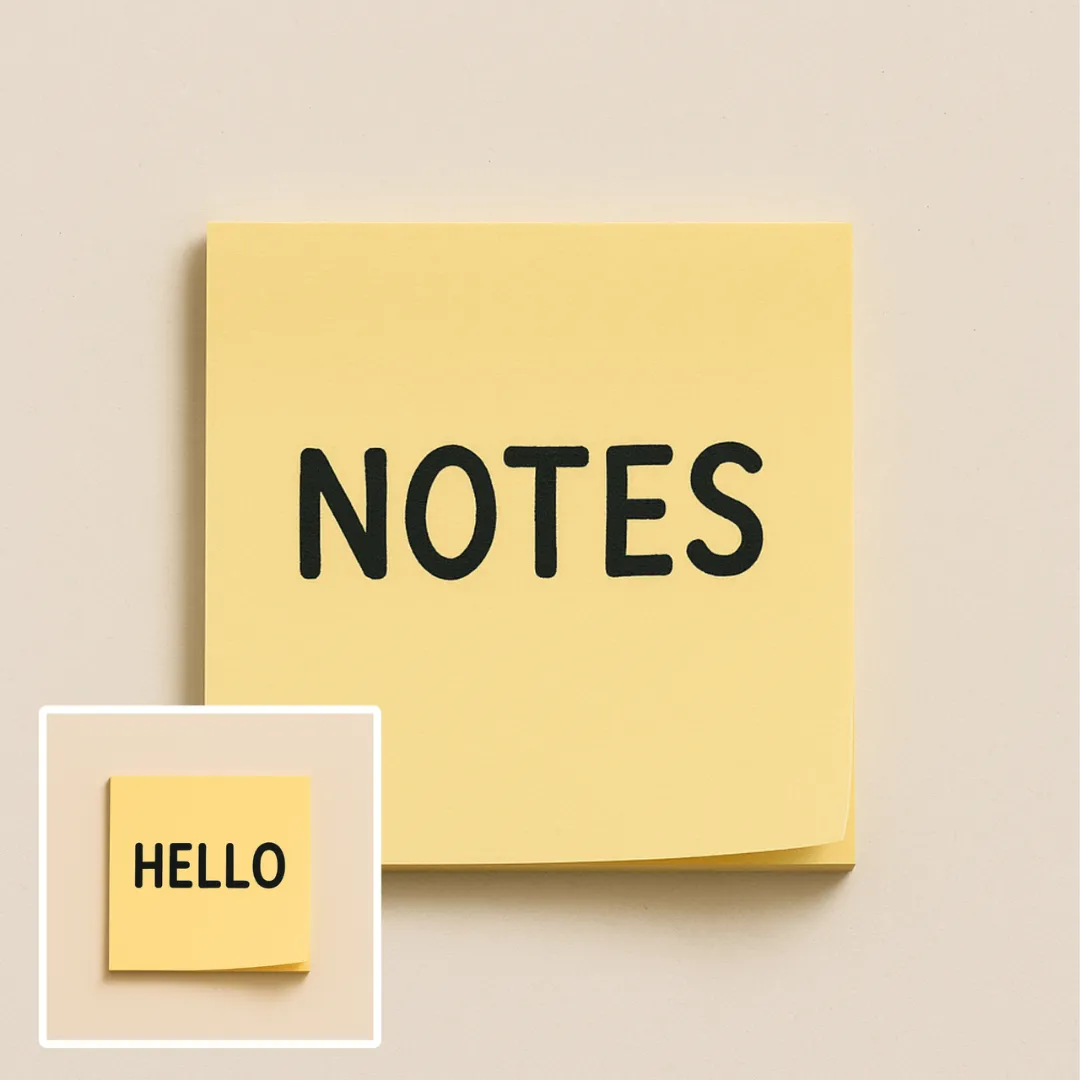
Edit or remove visible text with AI Edit Text in Image while preserving the surrounding layout. Check lettering, alignment, background texture, and the final crop before publishing.
Try Now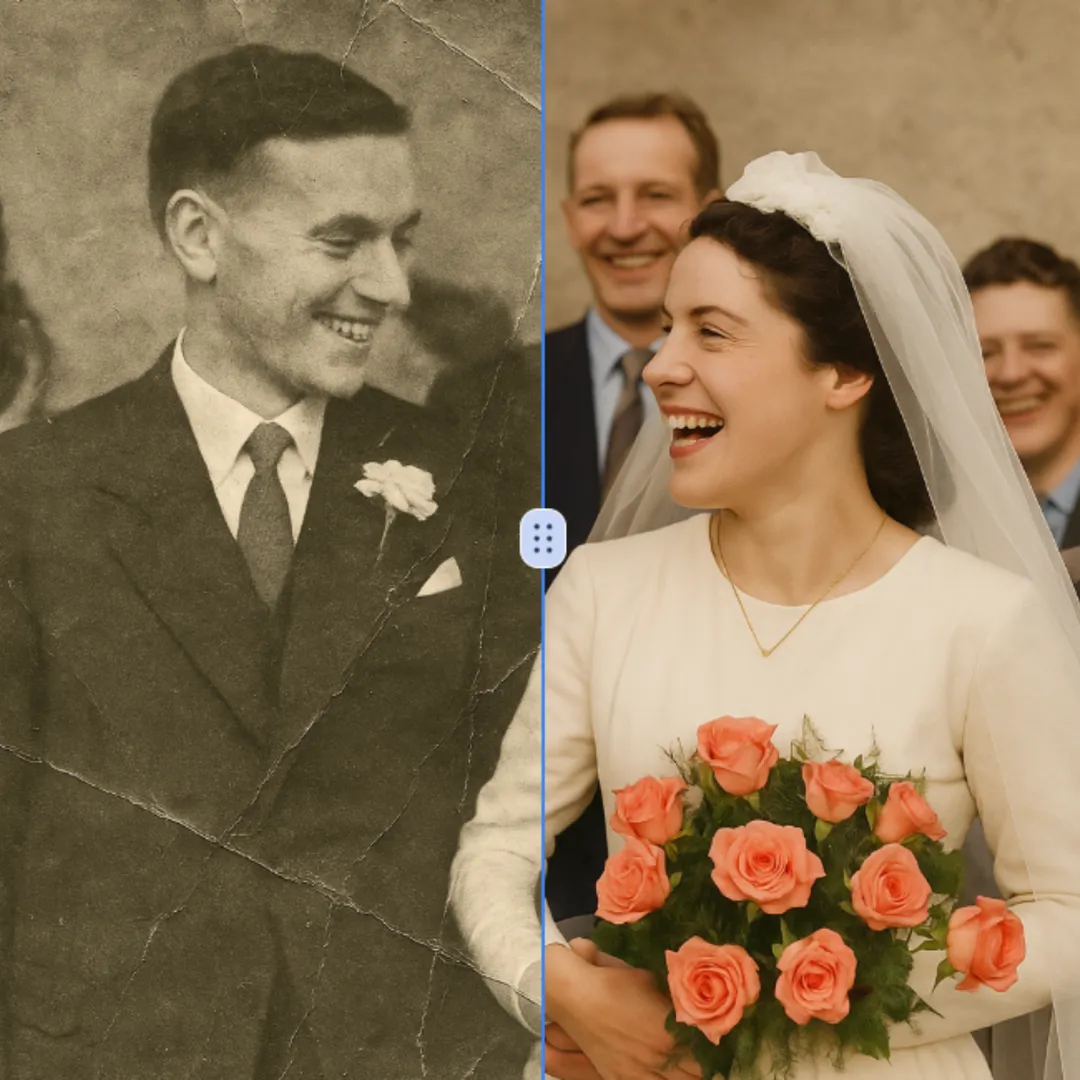
Improve visible image detail with AI Photo Restoration while keeping the original subject in view. Compare edges, faces, textures, and small text at the intended output size.
Try Now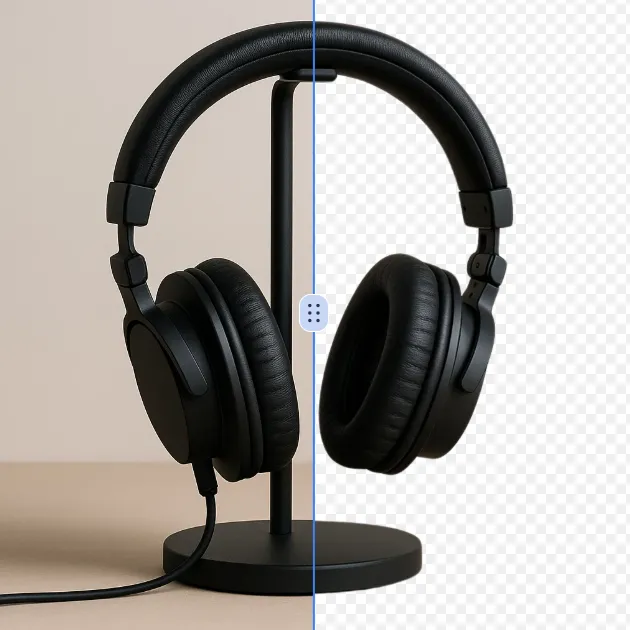
Remove a background from a photo or logo with AI Background Remover, then check subject edges, fine details, and transparency before using the cutout in a new design.
Try Now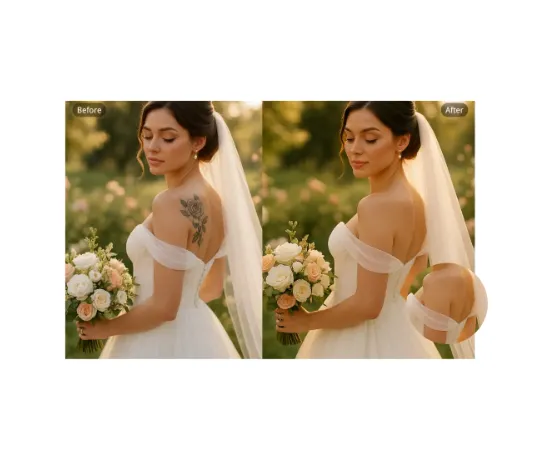
Use AI Remove Tattoo to target an unwanted overlay or localized detail in an image. Compare the edited area with the surrounding texture and correct visible seams before export.
Try NowUse Google to start creating and save your image. No card required.
 Continue with Google
 Remove the watermark, download HD images, and keep creating.
Credit Policy:
Secure checkout · Payment methods shown at checkout · Credits after confirmation