When to use this page
Keep the prompt specific and retain the original image until the result has been checked.
Improve visible image detail with AI Photo Restoration while keeping the original subject in view. Compare edges, faces, textures, and small text at the intended output size.
 Original
  Modified
 Keep the prompt specific and retain the original image until the result has been checked.
Check faces, text, product details, edges, and any rights-sensitive content. The generated result is a draft until you approve it.
Restoration asks for three jobs at once, and the risk is that all three get done enthusiastically. The instruction above eliminates scratches, dust, and tears; sharpens detail to an exceptional degree; and corrects faded or discoloured colour toward something vibrant and natural. It works inside the original frame with the subject kept in view, so the fair way to judge a result is against the scan you started with, not against your memory of the person standing in it.
A print with one long tear across a corner does not need the whole frame sharpened, and a colour print that has simply shifted magenta does not need its contrast rebuilt. The parts cannot be switched off individually here, but they can be biased, because the prompt box takes description of the subject, style, composition, and important details. Asking for the grain of the paper print to remain, or for the original muted palette to be kept, pushes back against the defaults without fighting them.
Where a tear has taken a piece of a face, the pass invents a face to fill the gap, working from what surrounds the loss and from what a person normally looks like. That is genuinely useful for a shoulder, a lapel, or a hedge behind a garden party, and it is precisely why eyes, teeth, fingers, and handwriting deserve a close read. Detail that did not survive the damage is being argued for rather than retrieved, so keep the original scan alongside the result, and keep the print itself if the photograph matters to anyone.
The checklist this page gives you is edges, faces, textures, and small text, checked at the intended output size. Faces go waxy when clarity is pushed too far, since skin loses its pores and the eyes flatten. Woven cloth, tweed, brick, and grass either gain plausible detail or turn into smear. Small lettering is the harshest test: an address on a shopfront, a date, a number on a jersey often comes back changed rather than corrected. Look once at full zoom, then at the size it will actually be printed or posted, because over-sharpening hides at thumbnail scale.
about restoring old photographs
Not reliably. Missing areas are reconstructed from their surroundings, so a scratch across an eye is filled with a plausible eye rather than the photographed one. Compare every damaged feature against the scan before you print a result or hand it to a relative.
That is the sharpening and clarity reading badly on skin, which is the texture least forgiving of reconstruction. Ask in the prompt box for natural skin texture and the grain of the original print to remain, then judge at full zoom.
No, since dust, scratches, and tears are named in the request. What is worth checking afterwards is the difference between debris on the scanner glass and real damage on the print, because a speck from the glass sits on top of everything, including the subject.
Say so, because the default is vibrant, natural, pristine colour, which lifts a faded print considerably. If the muted palette is part of why you like the photograph, describe the tonal look you want preserved.
Improve visible image detail with AI Photo Restoration while keeping the original subject in view. Compare edges, faces, textures, and small text at the intended output size.
Compare the result with the original, inspect the details that matter to your task, and keep the original until the output is approved.
Transform your images instantly using powerful AI Image Editor AI tools.
Try AI Photo Restoration NowDiscover more AI-powered tools to enhance and transform your images.
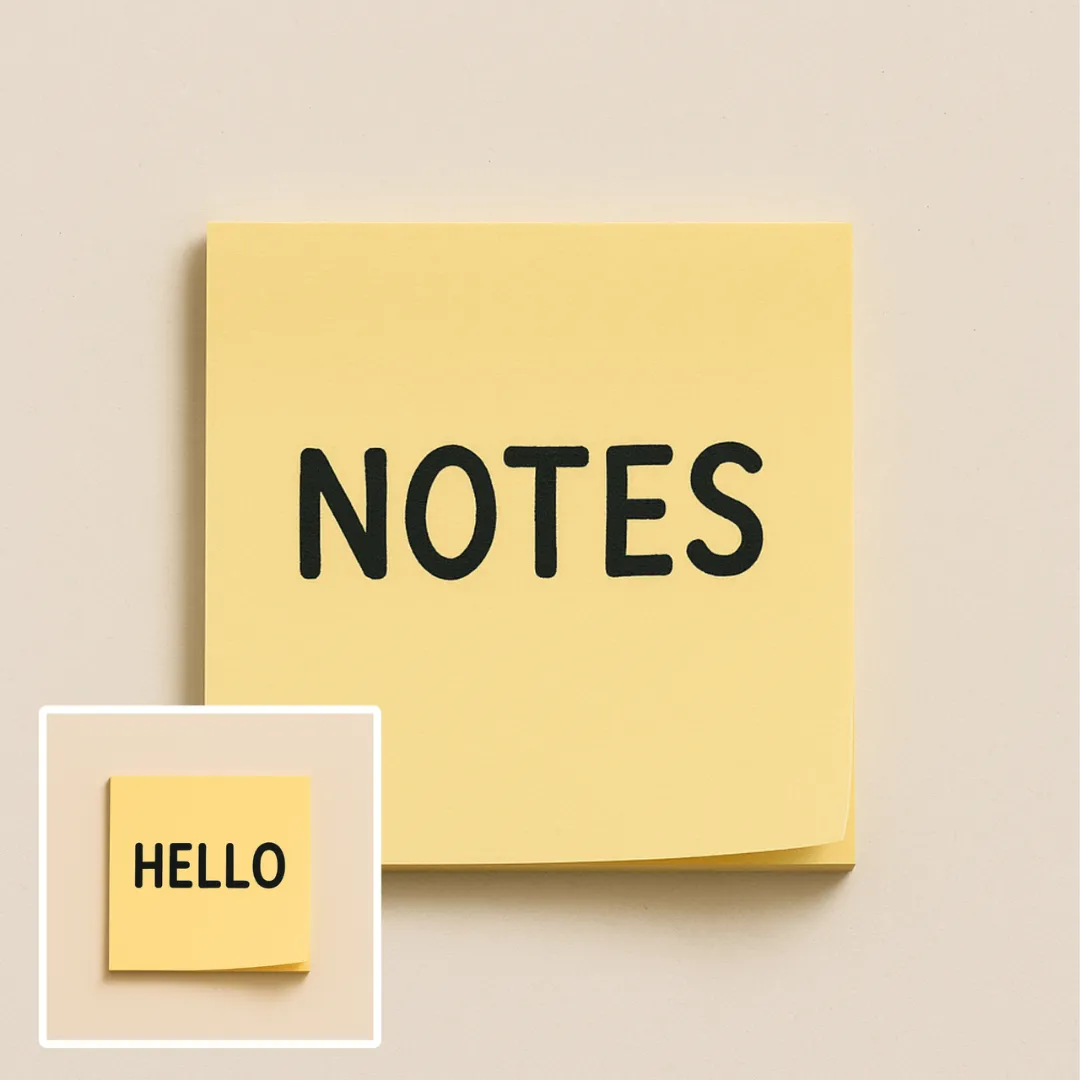
Edit or remove visible text with AI Edit Text in Image while preserving the surrounding layout. Check lettering, alignment, background texture, and the final crop before publishing.
Try Now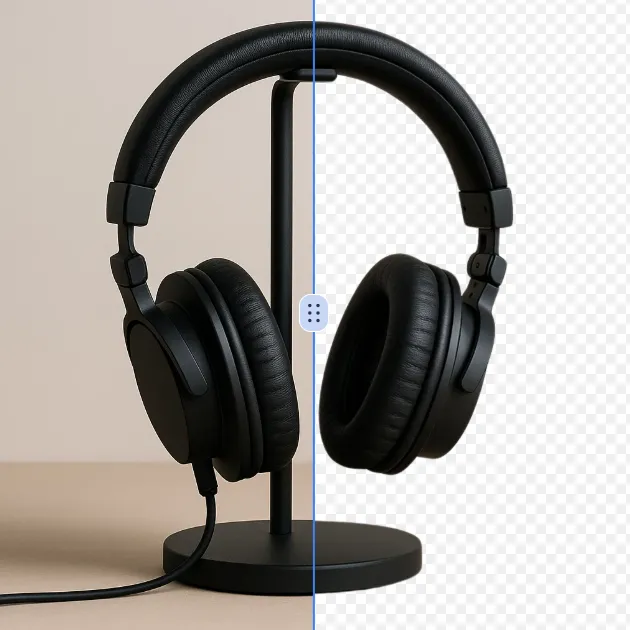
Remove a background from a photo or logo with AI Background Remover, then check subject edges, fine details, and transparency before using the cutout in a new design.
Try Now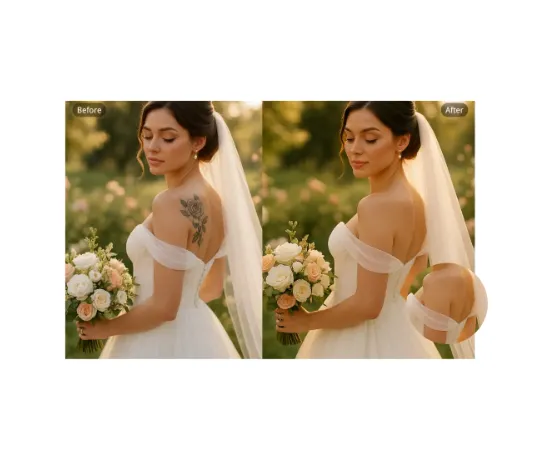
Use AI Remove Tattoo to target an unwanted overlay or localized detail in an image. Compare the edited area with the surrounding texture and correct visible seams before export.
Try NowUse Google to start creating and save your image. No card required.
 Continue with Google
 Remove the watermark, download HD images, and keep creating.
Credit Policy:
Secure checkout · Payment methods shown at checkout · Credits after confirmation