When to use this page
Keep the prompt specific and retain the original image until the result has been checked.
Use Remove Filter from Photo to target an unwanted overlay or localized detail in an image. Compare the edited area with the surrounding texture and correct visible seams before export.
 Original
  Modified
 Keep the prompt specific and retain the original image until the result has been checked.
Check faces, text, product details, edges, and any rights-sensitive content. The generated result is a draft until you approve it.
Most filters do not sit on top of a photo; they recolour the whole of it, which is why a slider that lifts warmth cannot undo one. This pass works across the entire frame. The built-in instruction asks for artistic filters, colour grading, and stylised effects to be stripped and the image rebuilt with neutral colours, natural lighting, and sharp clarity in both foreground and background.
The instruction goes further than "make it plain". It calls for an aggressive white balance correction aimed squarely at yellow and warm casts, and names the destination: a balanced, cool, clean profile consistent with bright overcast daylight. Skin tones are asked to come back natural rather than oversaturated, and texture is enhanced subtly through the scene. Two consequences follow from that. A photo that really was shot under tungsten or candle light will still be pulled cool, because the cast is what it is hunting. And a heavily posterised frame has no colour information left to neutralise, so what returns is a plausible reconstruction rather than the original file.
Compare the result against your upload with two references in mind: anything in the frame that should read white, and the skin. If the whites now sit blue or grey-green, the correction has gone past neutral. Then look at shadow colour, at whether a background you wanted soft has come back flat, and at any text in the frame, which is where aggressive clarity work shows first.
about removing a filter
No. The pass repaints the frame toward the neutral look it is asked for; it does not read the history of an edited file. Keep your upload until you have compared both at full size, and expect subtle differences in areas the filter covered heavily.
The instruction is written to neutralise warm casts and land on a cool, clean daylight profile, so heavily amber interiors are the case most likely to over-correct. If the warmth is the photograph rather than the filter, say so in the prompt box and describe the lighting you actually want kept.
This is a whole-frame colour and style pass, not a localised erase. A mark sitting in one corner is a different job and needs a tool aimed at that region. What this changes is cast, grading, saturation, and overall clarity.
You can run it empty and the built-in instruction does most of the describing. A short prompt helps when the frame has a specific surface to protect — "keep the wooden floor warm", "skin tones neutral, do not cool the wall" — since the hint on the field asks for the subject, style, and important details.
Use Remove Filter from Photo to target an unwanted overlay or localized detail in an image. Compare the edited area with the surrounding texture and correct visible seams before export.
Compare the result with the original, inspect the details that matter to your task, and keep the original until the output is approved.
Transform your images instantly using powerful AI Image Editor AI tools.
Try Remove Filter From Photo NowDiscover more AI-powered tools to enhance and transform your images.

Edit or remove visible text with AI Edit Text in Image while preserving the surrounding layout. Check lettering, alignment, background texture, and the final crop before publishing.
Try Now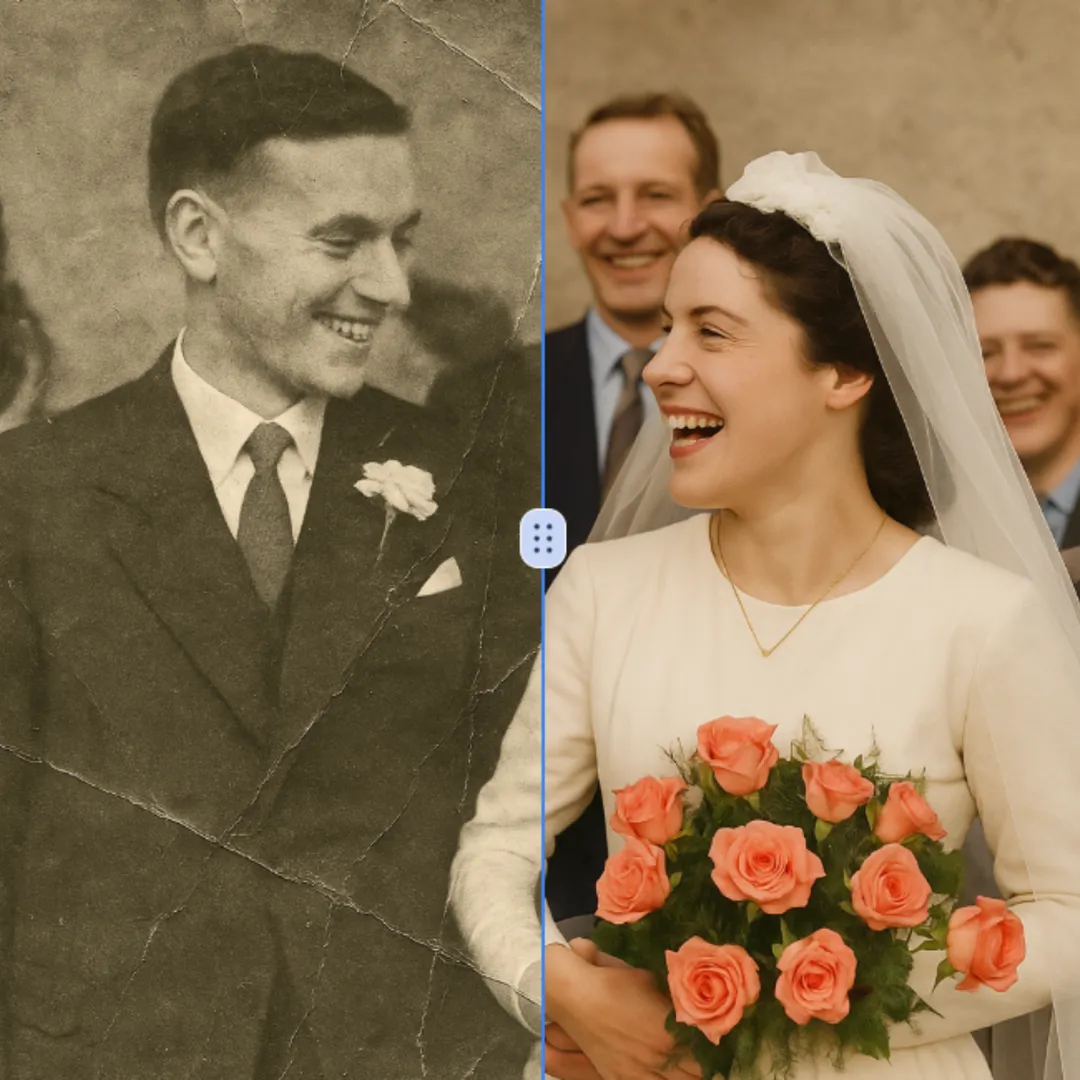
Improve visible image detail with AI Photo Restoration while keeping the original subject in view. Compare edges, faces, textures, and small text at the intended output size.
Try Now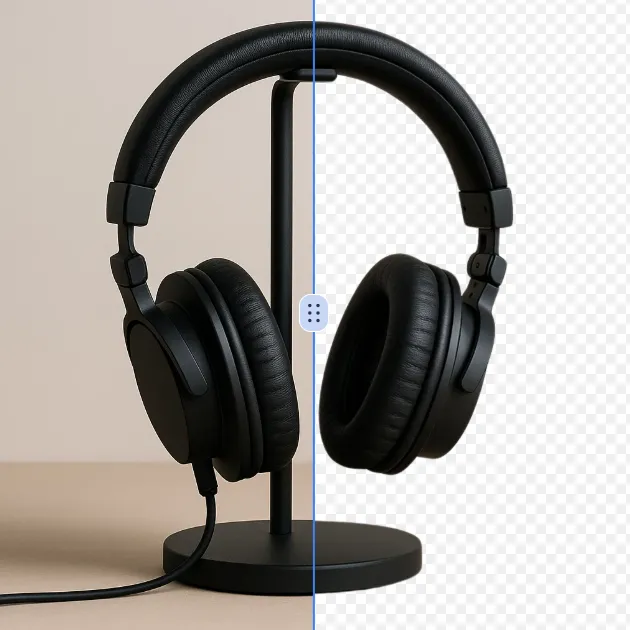
Remove a background from a photo or logo with AI Background Remover, then check subject edges, fine details, and transparency before using the cutout in a new design.
Try Now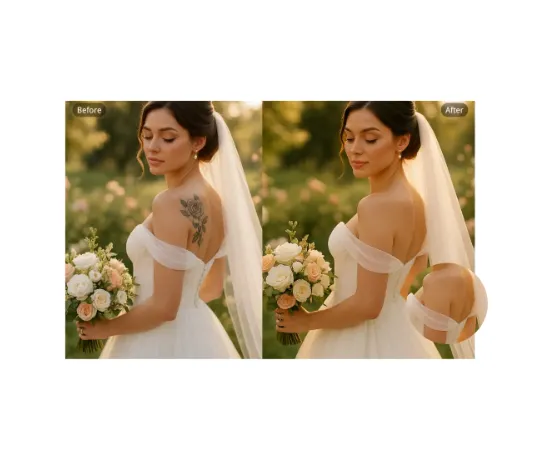
Use AI Remove Tattoo to target an unwanted overlay or localized detail in an image. Compare the edited area with the surrounding texture and correct visible seams before export.
Try NowUse Google to start creating and save your image. No card required.
 Continue with Google
 Remove the watermark, download HD images, and keep creating.
Credit Policy:
Secure checkout · Payment methods shown at checkout · Credits after confirmation