When to use this page
Keep the requested change narrow when the surrounding product shape, text, or composition must remain accurate.
Use a focused prompt to replace or fill part of an image. Describe the subject, lighting, and surrounding context, then review the generated area for unwanted changes.
 Modified
 Keep the requested change narrow when the surrounding product shape, text, or composition must remain accurate.
Check faces, text, product details, edges, and any rights-sensitive content. The generated result is a draft until you approve it.
Take an object out of a photograph and a question is left behind it: what was in that spot? The instruction sent here answers with the surrounding picture, asking for a seamless continuation of the background that matches lighting, perspective, and texture. That is why the useful prompt on this panel describes the gap rather than the thing you deleted.
"Remove the cyclist" tells the pass what you did not want and nothing about what you did. "Cobblestone carriageway continuing under a low raking sun" describes the surface, the light, and the geometry it has to reconstruct. The guidance on this page is to keep the edit area focused, for the same reason: one named surface over a tight selection is a much narrower guess than a whole side of a street.
A removed thing leaves two traces that a repair has to erase. There is the contact shadow under it and the cast shadow it threw, both of which the instruction is asked to continue rather than to fill with flat tone. Then there is perspective: a patch on a receding floor has to keep the floor's lines running. Check the base of the edit first, because a fill that matches the wall but forgets the floor reads as a sticker within a second.
Brick, tile, fencing, chain-link, gravel, grass, and rows of windows all give the pass something the eye can count, and a break in the count is obvious. So is an averaged texture where the pattern should stay crisp. Inspect the rebuilt region at full zoom before you export, and expect to run a wide, softly lit surface more than once. What you are checking for is shadows, repeated patterns, perspective, and background continuity, and the same list covers replacing an object as well as removing one.
about generative fill
The workflow is described both ways — removing or replacing a selected object. For a replacement, name the surface or item you want in the prompt and keep the selection tight around the thing being swapped, since the pass is matching what you describe to what sits at the edge of the edit.
Usually lighting or perspective at the boundary. Restate the light direction and the surface geometry in the prompt rather than rerunning an unchanged request, and check the ground under the edit for a leftover shadow.
JPEG, JPG, PNG, and WEBP uploads. Uniform surfaces close up most convincingly; a selection that straddles a busy boundary, a face, or a hand is where a reconstruction most often reads as invented.
This is a retouching tool for material you own or are permitted to edit. Nothing here settles a rights question about the underlying picture, so treat the output as a derived image and keep your source file.
Use a focused prompt to replace or fill part of an image. Describe the subject, lighting, and surrounding context, then review the generated area for unwanted changes.
Compare the result with the original, inspect the details that matter to your task, and keep the original until the output is approved.
Transform your images instantly using powerful AI Image Editor AI tools.
Try AI Generative Fill NowDiscover more AI-powered tools to enhance and transform your images.
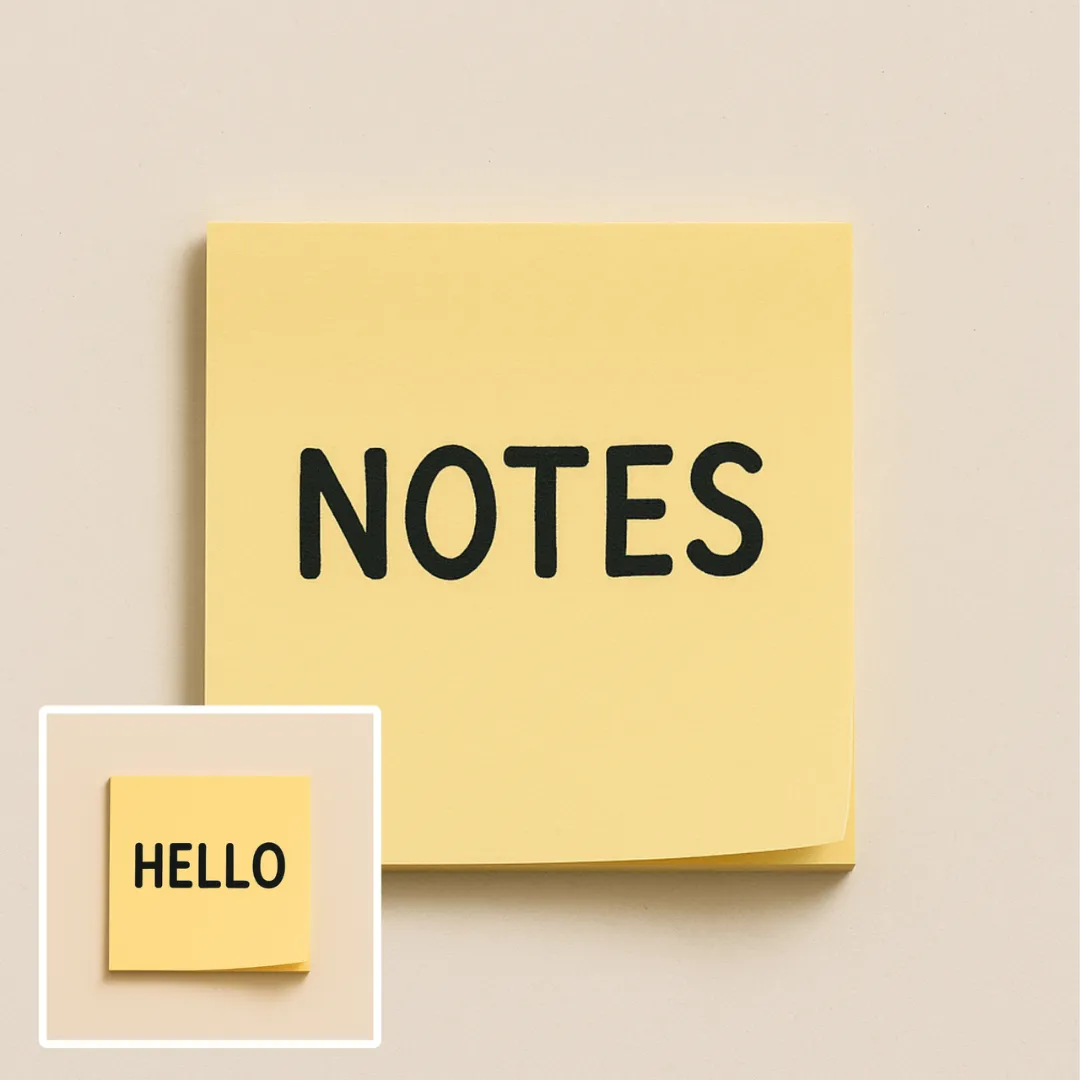
Edit or remove visible text with AI Edit Text in Image while preserving the surrounding layout. Check lettering, alignment, background texture, and the final crop before publishing.
Try Now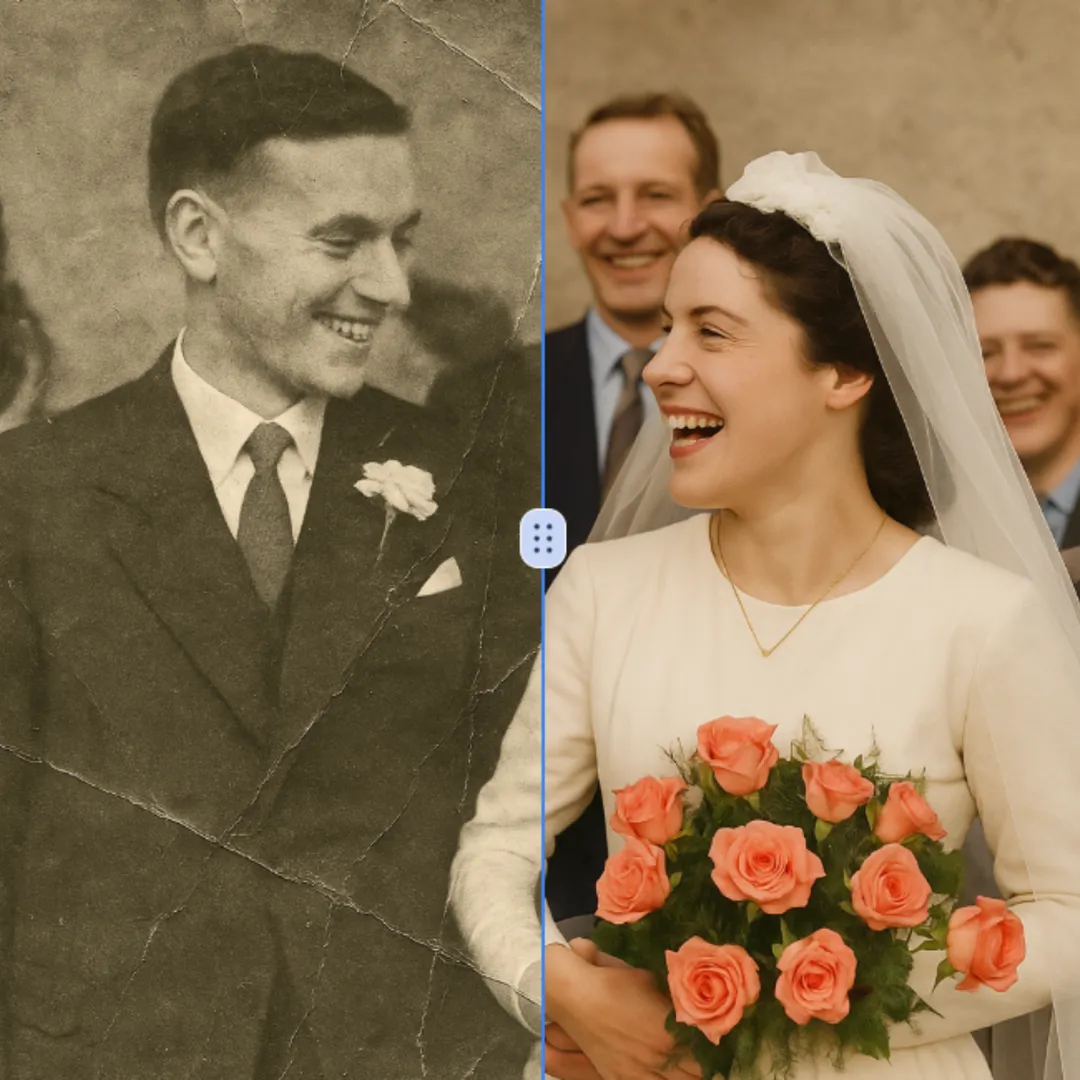
Improve visible image detail with AI Photo Restoration while keeping the original subject in view. Compare edges, faces, textures, and small text at the intended output size.
Try Now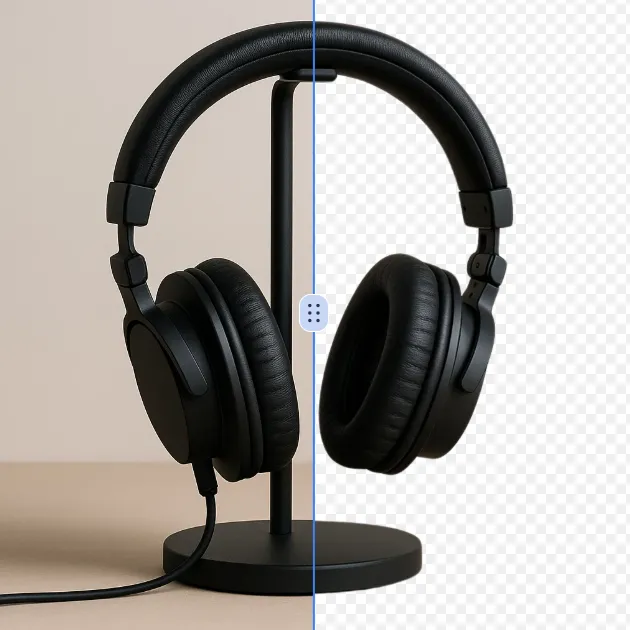
Remove a background from a photo or logo with AI Background Remover, then check subject edges, fine details, and transparency before using the cutout in a new design.
Try Now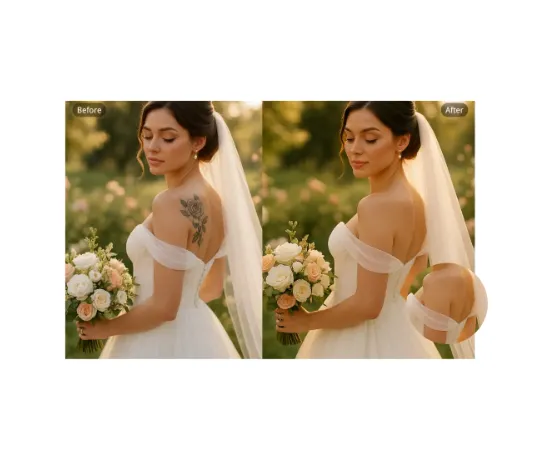
Use AI Remove Tattoo to target an unwanted overlay or localized detail in an image. Compare the edited area with the surrounding texture and correct visible seams before export.
Try NowUse Google to start creating and save your image. No card required.
 Continue with Google
 Remove the watermark, download HD images, and keep creating.
Credit Policy:
Secure checkout · Payment methods shown at checkout · Credits after confirmation