When to use this page
Use expansion for a new crop or social layout, not as proof that the generated surroundings are factual.
Extend an image beyond its original frame with a prompt that describes the missing space. Check perspective, repeated details, and the boundary between the original and generated area.
 Modified
 Use expansion for a new crop or social layout, not as proof that the generated surroundings are factual.
Check faces, text, product details, edges, and any rights-sensitive content. The generated result is a draft until you approve it.
Widening a frame means painting parts of a scene that were never photographed, which makes this half geometry and half guesswork. The instruction on this page expands the image outward, extends sky and landscape naturally, holds the subject centred, and asks for a cinematic wide composition. That is a landscape-leaning default, and the prompt box is where you redirect it.
The description of this tool sets the brief as three statements before you generate: the source you are working from, the target framing you want, and the elements that must stay stable. Writing those into the prompt field is the difference between an expansion and a surprise. "Keep the climber centred, extend the ridge line to the right, same overcast light" answers all three; "make it wider" answers none of them, and the pass invents the rest.
Subject continuity, lighting, and perspective are the three this tool's description tells you to inspect afterwards, and they fail in a recognisable order. The subject is the easiest, since the instruction asks for it to stay put. Lighting is harder, because new ground and sky have to agree with the direction the original light was already falling from. Perspective is hardest: extend a receding floor, a road, or a roofline and the new section can quietly run off on a different set of lines.
Inspect along the edge where the generated area meets your upload, and then along the outer border you are now expected to look at. Horizon lines that step, a sky gradient that restarts, softened texture in the new region, and repeated patterns that fall out of count are the tells. Keep the source file, since the expanded frame is a reconstruction around your picture rather than your picture with margin added.
about generative expand
The workflow is described as defining source, target framing, and stable elements, so state the framing you want in the prompt. Nothing on this page lists resulting dimensions or aspect ratios, so judge the outcome on the file you get and check the panel for what it offers.
That is the boundary between photographed pixels and generated ones, and it shows when light direction, texture density, or sharpness differ. Name the light and the surface in the prompt, then compare at full zoom rather than in a thumbnail.
No. The built-in instruction reaches for sky and landscape, which is why the prompt matters for interiors, cityscapes, and product shots: describe the surface that should continue past the edge.
JPEG, JPG, PNG, and WEBP uploads. Free preview exports carry an ImageFk watermark, and sign-in to ImageFk is through Google.
Extend an image beyond its original frame with a prompt that describes the missing space. Check perspective, repeated details, and the boundary between the original and generated area.
Compare the result with the original, inspect the details that matter to your task, and keep the original until the output is approved.
Transform your images instantly using powerful AI Image Editor AI tools.
Try AI Generative Expand NowDiscover more AI-powered tools to enhance and transform your images.

Edit or remove visible text with AI Edit Text in Image while preserving the surrounding layout. Check lettering, alignment, background texture, and the final crop before publishing.
Try Now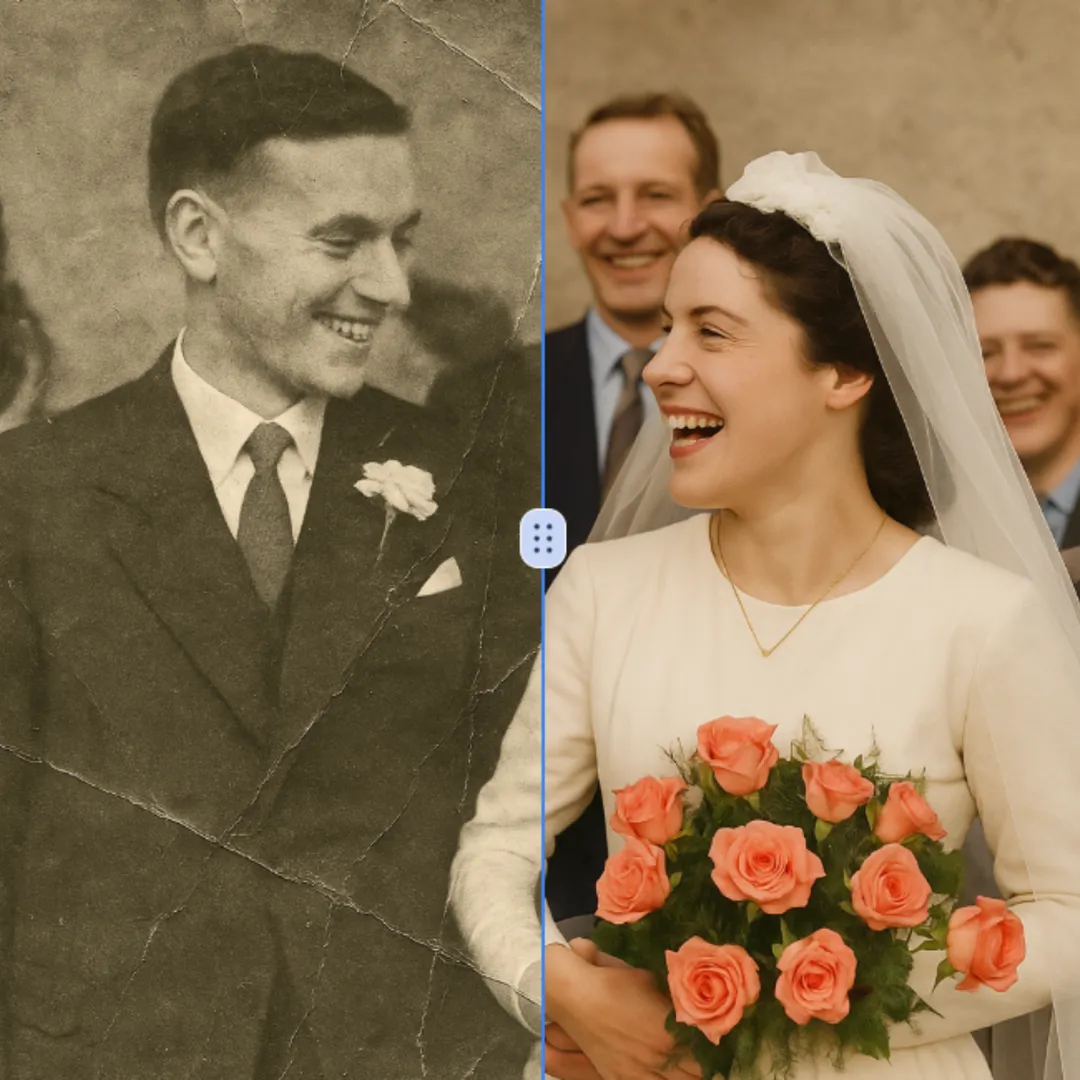
Improve visible image detail with AI Photo Restoration while keeping the original subject in view. Compare edges, faces, textures, and small text at the intended output size.
Try Now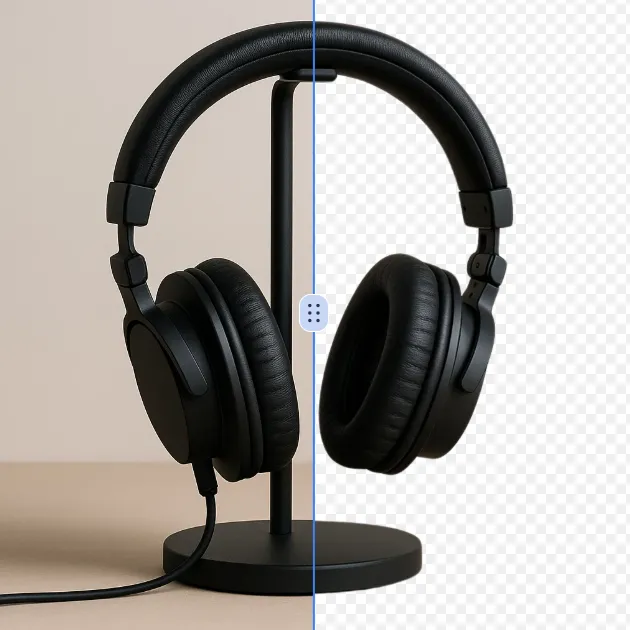
Remove a background from a photo or logo with AI Background Remover, then check subject edges, fine details, and transparency before using the cutout in a new design.
Try Now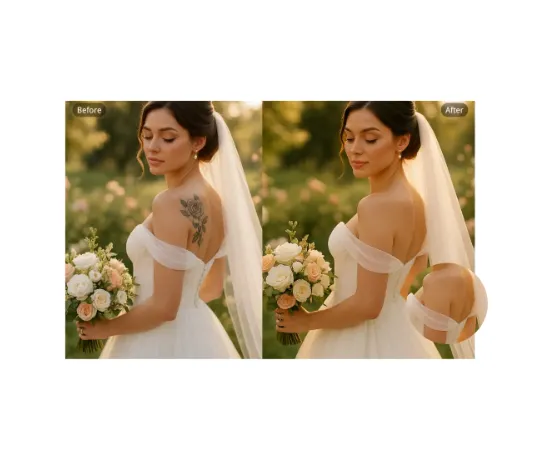
Use AI Remove Tattoo to target an unwanted overlay or localized detail in an image. Compare the edited area with the surrounding texture and correct visible seams before export.
Try NowUse Google to start creating and save your image. No card required.
 Continue with Google
 Remove the watermark, download HD images, and keep creating.
Credit Policy:
Secure checkout · Payment methods shown at checkout · Credits after confirmation