When to use this page
Keep the prompt specific and retain the original image until the result has been checked.
Create a clean cutout with AI Face Cut Out for transparent-image workflows. Review hair, fingers, product edges, and the exported canvas before placing the subject elsewhere.
 Modified
 Keep the prompt specific and retain the original image until the result has been checked.
Check faces, text, product details, edges, and any rights-sensitive content. The generated result is a draft until you approve it.
Most cutout tools take the whole figure. This one is narrower: the built-in instruction asks for the subject's face and head to be isolated and set on a transparent background, with the cut carrying all of the hair and the fine contours around the eyes, ears, and jaw. That scope is what makes it handy for head-based work, and what makes it the wrong choice when you need a body.
Everything inside the head outline comes with the result, so hair is the hard case. Loose strands at the temples, the silhouette of a ponytail, flyaways lit from behind: the instruction explicitly wants those captured, and they are the pixels most likely to arrive with a pale halo or no edge at all. The second thing you get is the boundary itself. A clean head cutout has a soft transition where hair meets the old background and a hard one along the jaw and chin, and those two need different handling. A single edge treatment applied to the whole outline tends to leave the jaw slightly fuzzy and the hairline slightly ragged at the same time.
Transparency only survives a format that carries an alpha channel, so JPEG is out; PNG and WEBP can hold it. If the areas that should be clear come back filled with black or white, the alpha was flattened somewhere between export and the file in front of you, and no amount of editing in the destination puts those pixels back. Zoom to full size and view the hair edge against both a light and a dark backdrop, because a fringe that looks fine on white usually shows a rim once it sits on a dark design.
about cutting a face out of a photo
The instruction is written around the face and head, so treat any extra area as something to confirm rather than something to expect. If your layout needs shoulders, start from a portrait where head and upper body read as one continuous shape, and check what the cutout actually delivered before you build around it.
One where the hair does not compete with the background. Dark hair against a dark wall, or wispy hair against a busy street, leaves very little contrast to separate on. A plain, evenly lit backdrop in a tone clearly different from the subject is what to look for in your source, and a sharp, well-lit face helps the fine facial contours hold their shape.
The wording is singular, one subject's face and head onto a transparent background, so a group photo is unlikely to arrive pre-separated. If you want two people isolated, the dependable route is to work from one face at a time and place the results together in your own layout.
That is the halo, and it is the usual symptom of a low-contrast source. It gathers around hair rather than around the jaw, and it becomes obvious the moment the cutout moves onto a darker design. Inspect that edge at full zoom before committing the placement, since trimming it afterwards shortens the strands.
Create a clean cutout with AI Face Cut Out for transparent-image workflows. Review hair, fingers, product edges, and the exported canvas before placing the subject elsewhere.
Compare the result with the original, inspect the details that matter to your task, and keep the original until the output is approved.
Transform your images instantly using powerful AI Image Editor AI tools.
Try AI Face Cut Out NowDiscover more AI-powered tools to enhance and transform your images.

Edit or remove visible text with AI Edit Text in Image while preserving the surrounding layout. Check lettering, alignment, background texture, and the final crop before publishing.
Try Now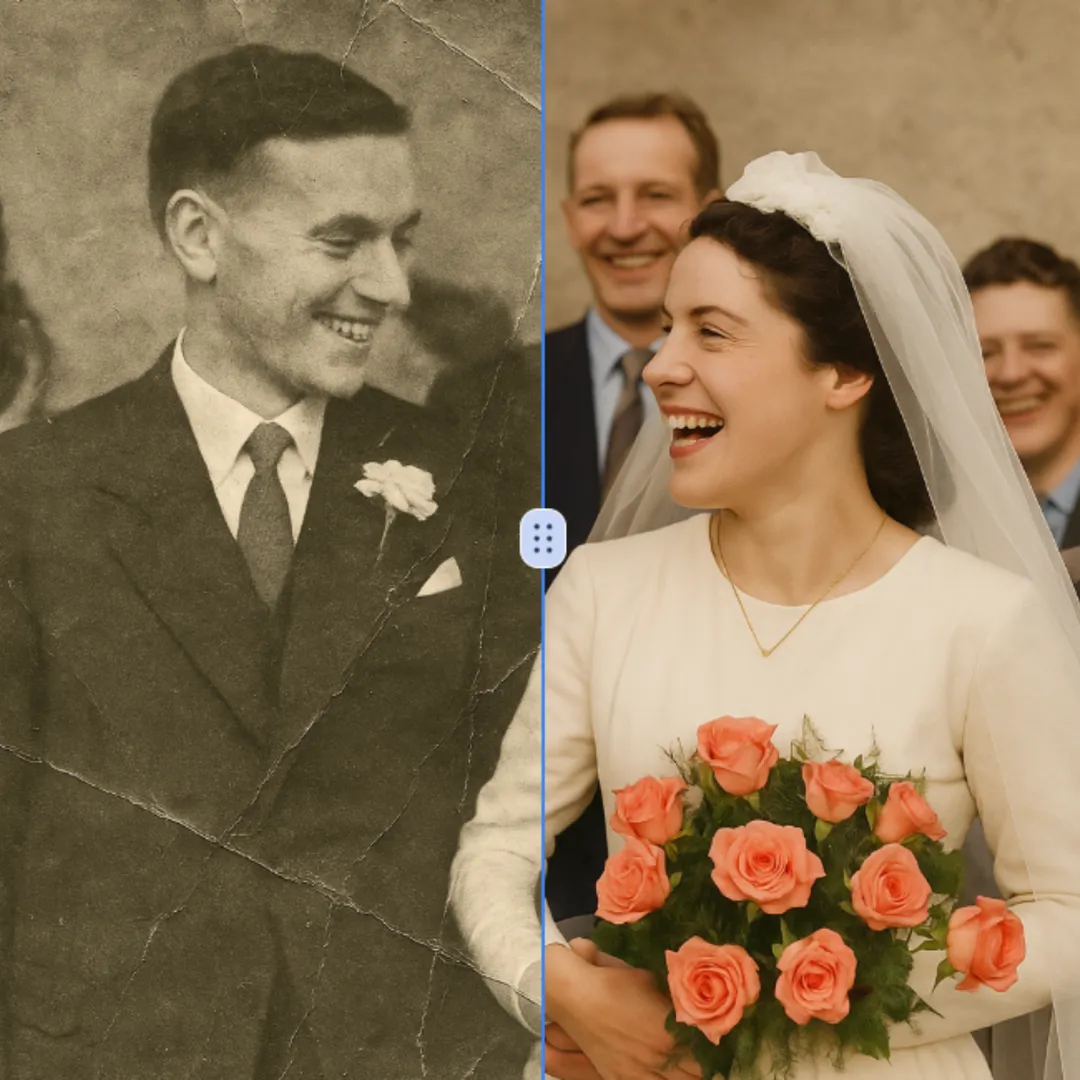
Improve visible image detail with AI Photo Restoration while keeping the original subject in view. Compare edges, faces, textures, and small text at the intended output size.
Try Now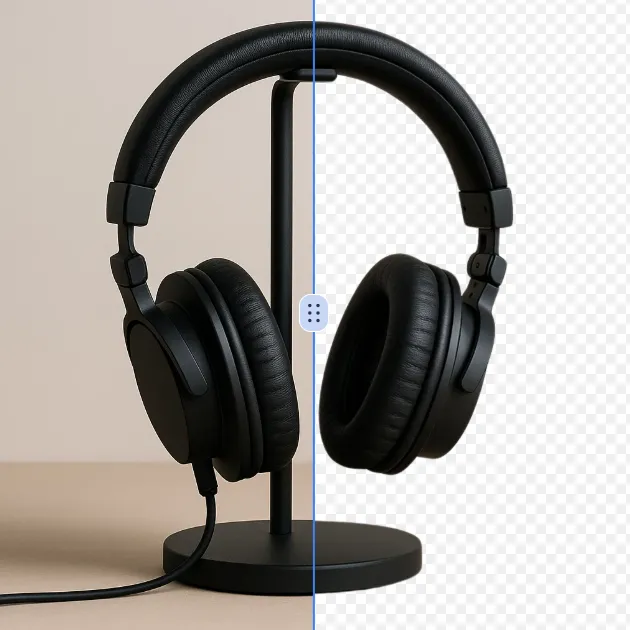
Remove a background from a photo or logo with AI Background Remover, then check subject edges, fine details, and transparency before using the cutout in a new design.
Try Now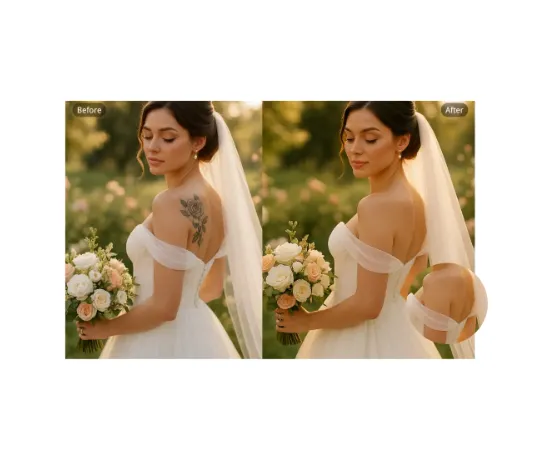
Use AI Remove Tattoo to target an unwanted overlay or localized detail in an image. Compare the edited area with the surrounding texture and correct visible seams before export.
Try NowUse Google to start creating and save your image. No card required.
 Continue with Google
 Remove the watermark, download HD images, and keep creating.
Credit Policy:
Secure checkout · Payment methods shown at checkout · Credits after confirmation