When to use this page
Keep the prompt specific and retain the original image until the result has been checked.
Adjust the color direction of a photo with AI Photo Color Correction. Use a clear reference image, then check skin tones, highlights, shadows, and color consistency across the frame.
 Original
  Modified
 Keep the prompt specific and retain the original image until the result has been checked.
Check faces, text, product details, edges, and any rights-sensitive content. The generated result is a draft until you approve it.
A photo can be the right picture and the wrong colour at the same time: a hall under old lighting that went amber, a bathroom that came out green, a backlit face that came out mud. This pass is asked to take the whole frame in hand — white balance to neutral, underexposure and overexposure corrected, saturation and contrast lifted subtly toward a vibrant, natural result.
Read the built-in instruction and you will see it does more than rebalance. The same request asks for an extreme sharpening pass, for every trace of blur, softness, and haze to be removed, and for noise and grain to be purified out of the surface. That is worth knowing before you point it at three things. A deliberately grainy frame will lose the grain. A moody, underexposed interior will be lifted, because lifting is what it was told to do. And skin, which is where denoising and sharpening disagree most, can come back smoothed while the rest of the frame gains bite. If you want any of that preserved, name it in the prompt box.
The prompt field asks for the desired subject, style, composition, and important details, and a stated destination beats a list of complaints. "Neutral whites, cool clean daylight, skin left warm" gives the pass something to aim at; "remove the yellow" leaves the endpoint to be guessed. Holding a clear reference in mind helps for the same reason — describe the part of it you want matched rather than the part of your own frame you dislike.
about colour correcting a photo
The request is written for the image as a whole, so a correction that suits the sunlit side of a room will not suit the lamp-lit side. Where lighting is mixed, check left and right edges separately and expect to describe which region matters more in the prompt.
Correcting underexposure is part of the built-in instruction. Low-key frames lose their shadows as a result. If the darkness is intentional, say so — "keep the background deep, correct only the face" — rather than accepting a brightened version of a picture you wanted quiet.
Yes, and that is deliberate. The instruction bundles a strong clarity and denoise pass with the white balance work, so detail and grain change along with the tones. Compare edges against your upload at full size to be sure the added bite is welcome.
Run it once, judge it, then decide. Strong casts can leave a residual tint in the shadows even when the midtones read neutral, and repeated global corrections drift the colours further than a single careful pass. A short, specific prompt usually moves the result more than a second identical run.
Adjust the color direction of a photo with AI Photo Color Correction. Use a clear reference image, then check skin tones, highlights, shadows, and color consistency across the frame.
Compare the result with the original, inspect the details that matter to your task, and keep the original until the output is approved.
Transform your images instantly using powerful AI Image Editor AI tools.
Try AI Photo Color Correction NowDiscover more AI-powered tools to enhance and transform your images.

Edit or remove visible text with AI Edit Text in Image while preserving the surrounding layout. Check lettering, alignment, background texture, and the final crop before publishing.
Try Now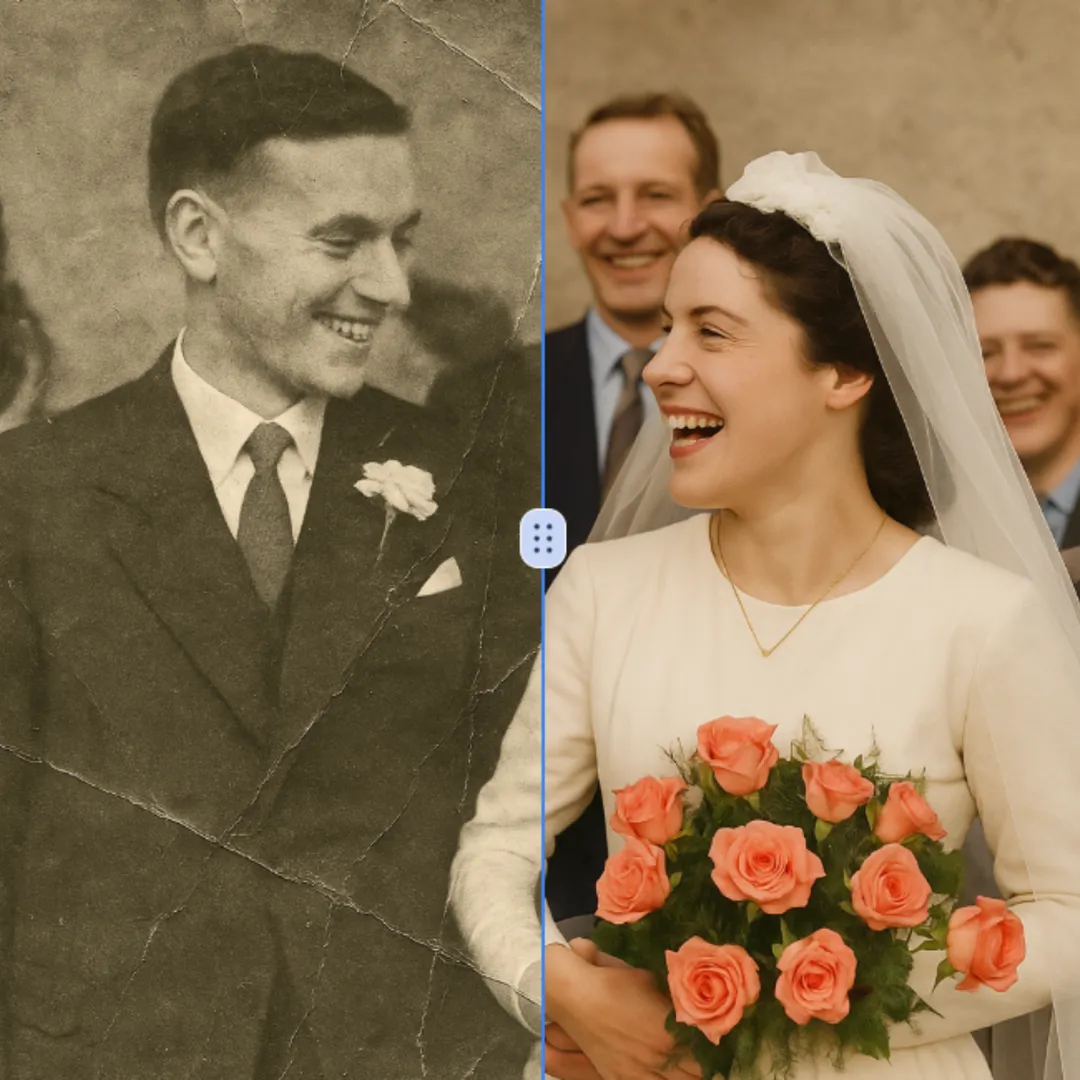
Improve visible image detail with AI Photo Restoration while keeping the original subject in view. Compare edges, faces, textures, and small text at the intended output size.
Try Now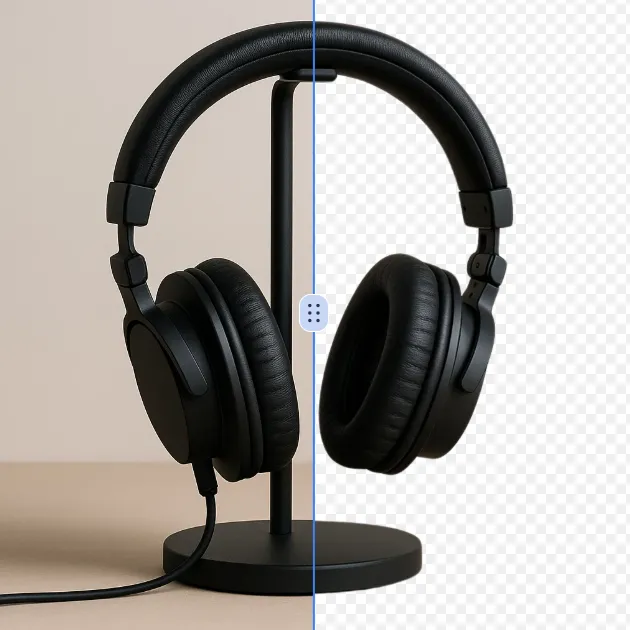
Remove a background from a photo or logo with AI Background Remover, then check subject edges, fine details, and transparency before using the cutout in a new design.
Try Now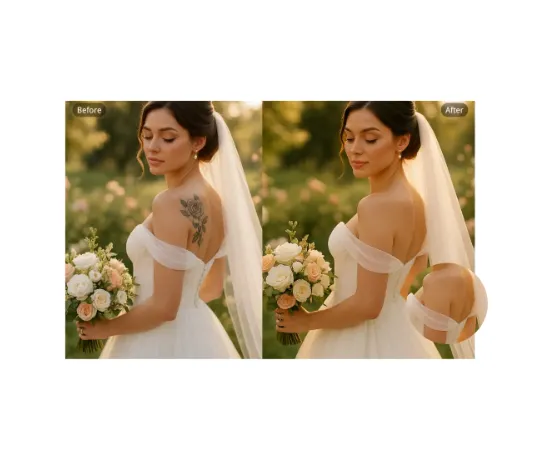
Use AI Remove Tattoo to target an unwanted overlay or localized detail in an image. Compare the edited area with the surrounding texture and correct visible seams before export.
Try NowUse Google to start creating and save your image. No card required.
 Continue with Google
 Remove the watermark, download HD images, and keep creating.
Credit Policy:
Secure checkout · Payment methods shown at checkout · Credits after confirmation