When to use this page
Use a clear source photo when you need a transparent cutout or a cleaner product image.
Remove a background from a product, portrait, or everyday photo and review the edges before downloading. Hair, transparent objects, shadows, and busy backgrounds may need another attempt.
 Original
  Modified
 Use a clear source photo when you need a transparent cutout or a cleaner product image.
Check faces, text, product details, edges, and any rights-sensitive content. The generated result is a draft until you approve it.
One short field drives this page, and the colour you type in it becomes the whole backdrop. The request replaces the existing background with a pure version of that colour and asks for the main subject to sit on it cleanly while keeping its original lighting and proportions. The outcome therefore hinges on something the form cannot check for you: how well your chosen hue agrees with light that is still sitting in the photograph.
The hint under Custom Background Color simply reads Type a color, and whatever you write lands inside the instruction as the tone of a flat backdrop. Two-word names outperform single words, because they settle both hue and weight: muted teal, warm mustard, deep charcoal, pale mint. Since the ask is for a pure colour, an even single tone reads correctly, while a sunset gradient or a marble texture describes something this request is not built to place there. The Other Ideas box is for what you want held: keep the shadow under the chair, leave the subject position unchanged, no darkening at the corners.
Recolouring the field does not recolour the outermost pixels of your subject, and those took on the old setting while the photo was taken. Check dark hair against a pale new colour, a light jacket against a saturated one, and a shoulder that faced a coloured wall. If the outline carries a hue that appears nowhere else in the frame, the pass cut the subject out but never separated it, and that mismatch is visible even in a thumbnail.
A studio backdrop is lit; a generated colour is not. That is the honest limit here, because the subject's lighting is deliberately preserved and the two have to be reconciled by eye. Ask whether the light falling on the person matches the tonal weight of the new field. Check white balance on skin, contrast where subject meets colour, and whether separation survives when both sit at a similar brightness, since a mid-tone subject against a mid-tone backdrop collapses into one shape.
Remove a background from a product, portrait, or everyday photo and review the edges before downloading. Hair, transparent objects, shadows, and busy backgrounds may need another attempt.
Compare the result with the original, inspect the details that matter to your task, and keep the original until the output is approved.
The field asks you to type a colour, so a plain name is the dependable input. If you need an exact brand tone, generate something close here and set the final value in your design software, because a described hue lands near your target rather than precisely on it.
That is colour spill from the original setting, which stays on the subject after the backdrop changes. Cropping the source more tightly helps, and a neutral wall behind the subject next time helps more. Naming the edge you want cleaned in the ideas box can narrow it.
The subject is meant to be cut out and placed on the new backdrop unchanged, so the recolouring should stay outside the outline. Verify by comparing skin, fabric, and product tones against the original file at full zoom.
The instruction asks for a pure single colour, so a mottled studio wall or a printed paper is outside what this page requests. Keep the edit to a hue and add texture as a separate layer behind the subject.
Transform your images instantly using powerful AI Image Editor AI tools.
Try Change Background Color of Photo NowDiscover more AI-powered tools to enhance and transform your images.

Edit or remove visible text with AI Edit Text in Image while preserving the surrounding layout. Check lettering, alignment, background texture, and the final crop before publishing.
Try Now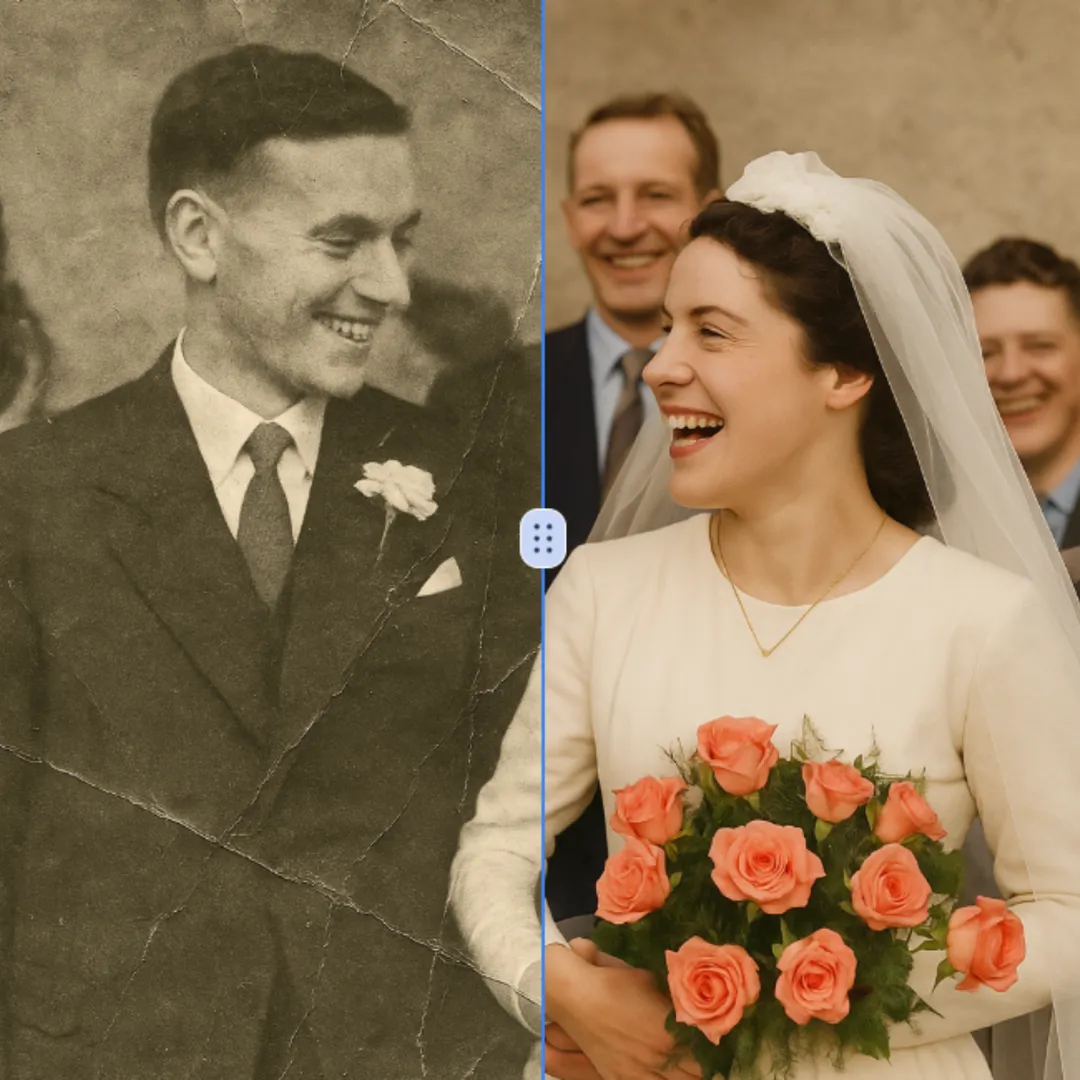
Improve visible image detail with AI Photo Restoration while keeping the original subject in view. Compare edges, faces, textures, and small text at the intended output size.
Try Now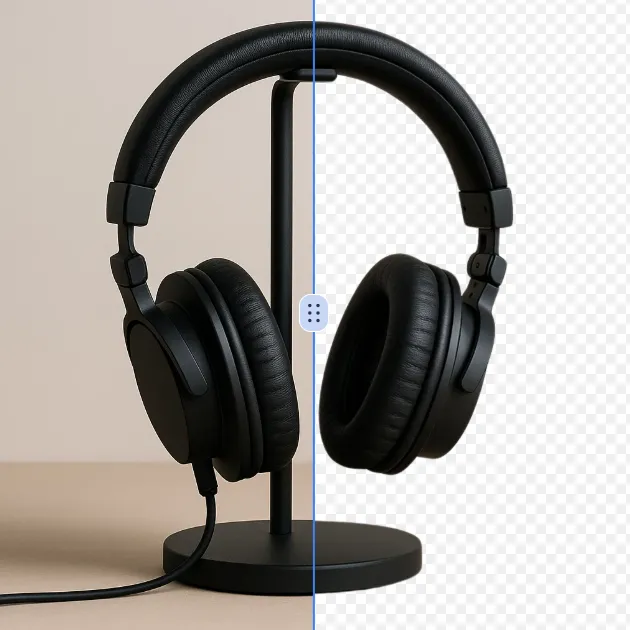
Remove a background from a photo or logo with AI Background Remover, then check subject edges, fine details, and transparency before using the cutout in a new design.
Try Now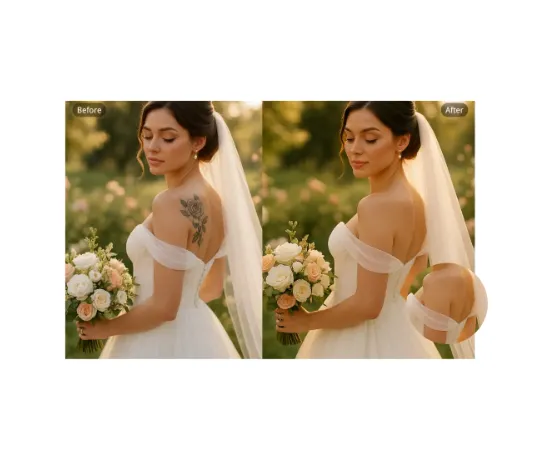
Use AI Remove Tattoo to target an unwanted overlay or localized detail in an image. Compare the edited area with the surrounding texture and correct visible seams before export.
Try NowUse Google to start creating and save your image. No card required.
 Continue with Google
 Remove the watermark, download HD images, and keep creating.
Credit Policy:
Secure checkout · Payment methods shown at checkout · Credits after confirmation