When to use this page
Keep the prompt specific and retain the original image until the result has been checked.
Apply a focused visual effect with AI Blur Image to change the mood or perspective of a photo. Check the subject outline, lighting, and edges so the effect supports the composition.
 Original
  Modified
 Keep the prompt specific and retain the original image until the result has been checked.
Check faces, text, product details, edges, and any rights-sensitive content. The generated result is a draft until you approve it.
Blur is a separation trick before it is a mood. The request here is narrow: strong background blur, with the main subject kept perfectly sharp and in focus so it stands out distinctly. That is the effect a wide aperture buys optically, and it is why the review afterwards is not about how soft the backdrop became but about where the line between sharp and soft falls.
A filter dragged across an image softens everything equally. This pass is aimed at the background, which makes the first decision a subject decision: is it one person, or the person plus the dog plus the bench they are sitting on. Whatever is treated as subject keeps its detail and whatever is not loses it. The optional prompt box is the cheapest way to settle that argument, since a sentence naming the subject is closer to an instruction than any amount of styling language.
The transition ring is the entire giveaway, so inspect outlines rather than the middle of the blur. Hair against foliage or a bright sky shows a hard cut where a real lens would fade gradually. Objects touching the subject, such as a chair back against a shoulder, a hand on a table, or a pole behind a head, have to be assigned to one side of the boundary and often come back half sharp. Glasses, earrings, and a nose that projects past the plane of the face are the usual casualties, because real depth is not a single flat division.
The hint under the box asks for the desired subject, style, composition, and important details, and the two highest-value uses are precision about what stays crisp and about what the far plane should do. Night frames benefit from asking that distant city lights become soft round highlights. A landscape may need the blur kept gentle so a ridge stays legible. A portrait can ask that skin stay clean while everything behind the head falls away. The guidance for this page is to check subject outline, lighting, and edges so the effect supports the composition, and a stated intent makes that check possible.
about blurring the background of a photo
No. The instruction holds the main subject perfectly sharp and puts the softness on the background, which is exactly why the outline of the subject is the place to look at full zoom.
This pass is organised around a subject and its backdrop rather than around regions of a picture. If you need a band kept sharp, a sign, a horizon, a face in a crowd, describe it in the prompt box and expect a looser result than a tool built for localised blurring.
That is the transition between the plane held crisp and the plane softened, and it shows hardest when the edge is abrupt or when something near the subject was judged to belong to it. Naming the subject precisely in the prompt usually narrows the ring.
The subject's own light should carry across, since only the backdrop is being treated. The page still asks you to check lighting and edges before export, because a bright or high-contrast background changes how the subject reads beside it once its detail is gone.
Apply a focused visual effect with AI Blur Image to change the mood or perspective of a photo. Check the subject outline, lighting, and edges so the effect supports the composition.
Compare the result with the original, inspect the details that matter to your task, and keep the original until the output is approved.
Transform your images instantly using powerful AI Image Editor AI tools.
Try AI Blur Image NowDiscover more AI-powered tools to enhance and transform your images.

Edit or remove visible text with AI Edit Text in Image while preserving the surrounding layout. Check lettering, alignment, background texture, and the final crop before publishing.
Try Now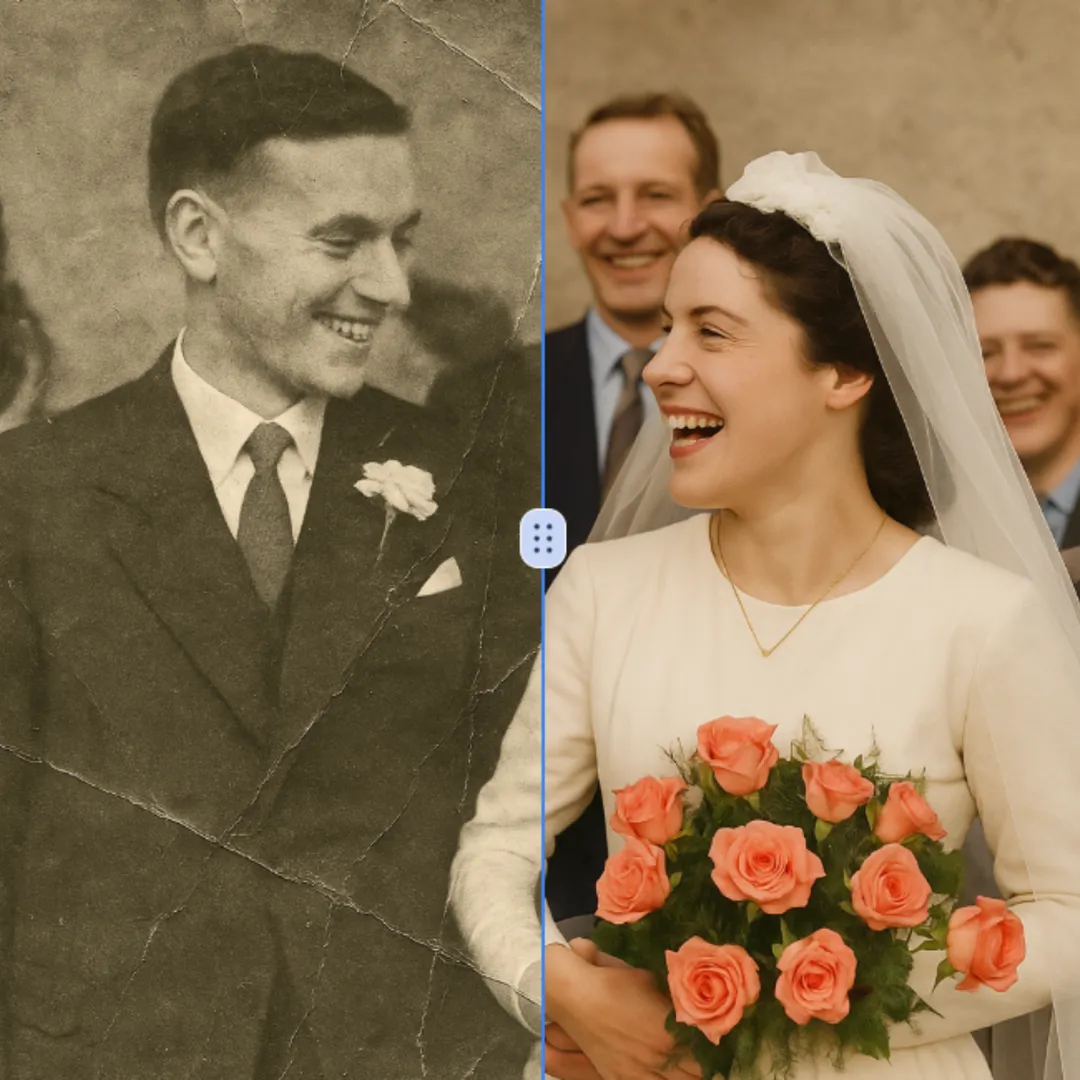
Improve visible image detail with AI Photo Restoration while keeping the original subject in view. Compare edges, faces, textures, and small text at the intended output size.
Try Now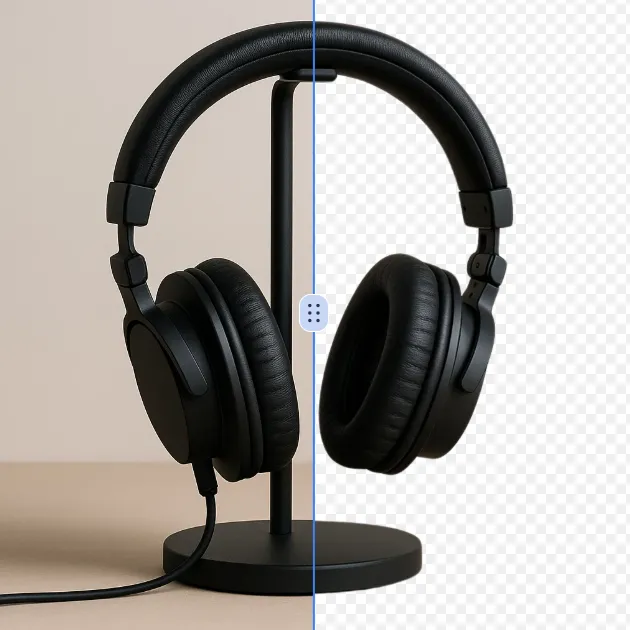
Remove a background from a photo or logo with AI Background Remover, then check subject edges, fine details, and transparency before using the cutout in a new design.
Try Now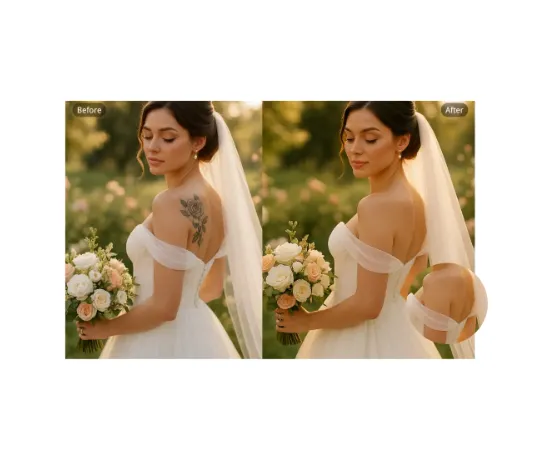
Use AI Remove Tattoo to target an unwanted overlay or localized detail in an image. Compare the edited area with the surrounding texture and correct visible seams before export.
Try NowUse Google to start creating and save your image. No card required.
 Continue with Google
 Remove the watermark, download HD images, and keep creating.
Credit Policy:
Secure checkout · Payment methods shown at checkout · Credits after confirmation