When to use this page
Keep the prompt specific and retain the original image until the result has been checked.
Use Add Shadow to Image to turn a suitable image or prompt into a focused visual result, then inspect the output and refine the details before download.
 Original
  Modified
 Keep the prompt specific and retain the original image until the result has been checked.
Check faces, text, product details, edges, and any rights-sensitive content. The generated result is a draft until you approve it.
A subject lifted out of its original setting usually fails for one reason: nothing holds it to the surface. The pass here is built around that contact. It redraws the person or object with photorealistic surface detail and lays an organically shaped cast shadow beneath them, softly diffused, with falloff that follows the directional ambient light already implied in the frame.
The built-in instruction is a generation instruction rather than a blur filter. Alongside the shadow it asks for subtle reflections, delicate highlights, and deep volumetric shading across the subject, so the form reads as three-dimensional and present instead of pasted on. That is worth knowing before you compare files: the subject you get back is a re-render, so check it against your original for shape, colour, and any mark or label that has to stay exact. There is a single field, the optional prompt box, whose hint asks for the subject, style, composition, and the details that matter. "Matte ceramic vase, one window from the left, warm wooden floor" does more work than "add a shadow", because it names the two things the instruction has to infer otherwise.
Shading changes nothing about ownership, so this is written for material you own or are permitted to edit.
Direction is the first thing a viewer checks without noticing. The cast shadow should fall away from the brightest highlight on the subject, not cut across it, and the narrow band where the subject meets the surface should stay darker than the long tail. Softness should increase with distance from that contact point; a shadow with one uniform edge reads as a sticker. Where the light in your source is flat and frontal there is very little for the instruction to be consistent with, so state in the prompt which side the light comes from instead of leaving it implied.
about adding a cast shadow
No. The page ships with its own instruction, so an empty box still produces a diffused cast shadow with falloff under the subject. The prompt is where you narrow things down: name the surface the subject stands on, the material of the subject itself, and which side the light comes from. That is information the built-in wording cannot infer from a flat product shot.
Usually because the shadow and the highlights disagree. Check that the brightest side of the subject faces away from where the shadow runs, then look at the contact point under the base. If the shadow is one flat tone from edge to tail, restate the falloff and the surface in the prompt rather than running the same request again.
Yes, and the existing shading is what the pass works from. Expect that shadow to be repainted along with the subject, since the instruction redraws the form rather than only darkening under it. If the original shadow belongs to a scene you need intact, compare both files closely before you decide which one to keep.
A traditional drop shadow copies the subject silhouette and offsets it in a single flat tone. This pass shapes the shadow around the implied light source and rebuilds the subject's own shading at the same time, which is why the result can read as photography rather than a layer effect. The trade-off is that the subject itself may differ slightly from what you uploaded.
Use Add Shadow to Image to turn a suitable image or prompt into a focused visual result, then inspect the output and refine the details before download.
Compare the result with the original, inspect the details that matter to your task, and keep the original until the output is approved.
Transform your images instantly using powerful AI Image Editor AI tools.
Try Add Shadow to Image NowDiscover more AI-powered tools to enhance and transform your images.
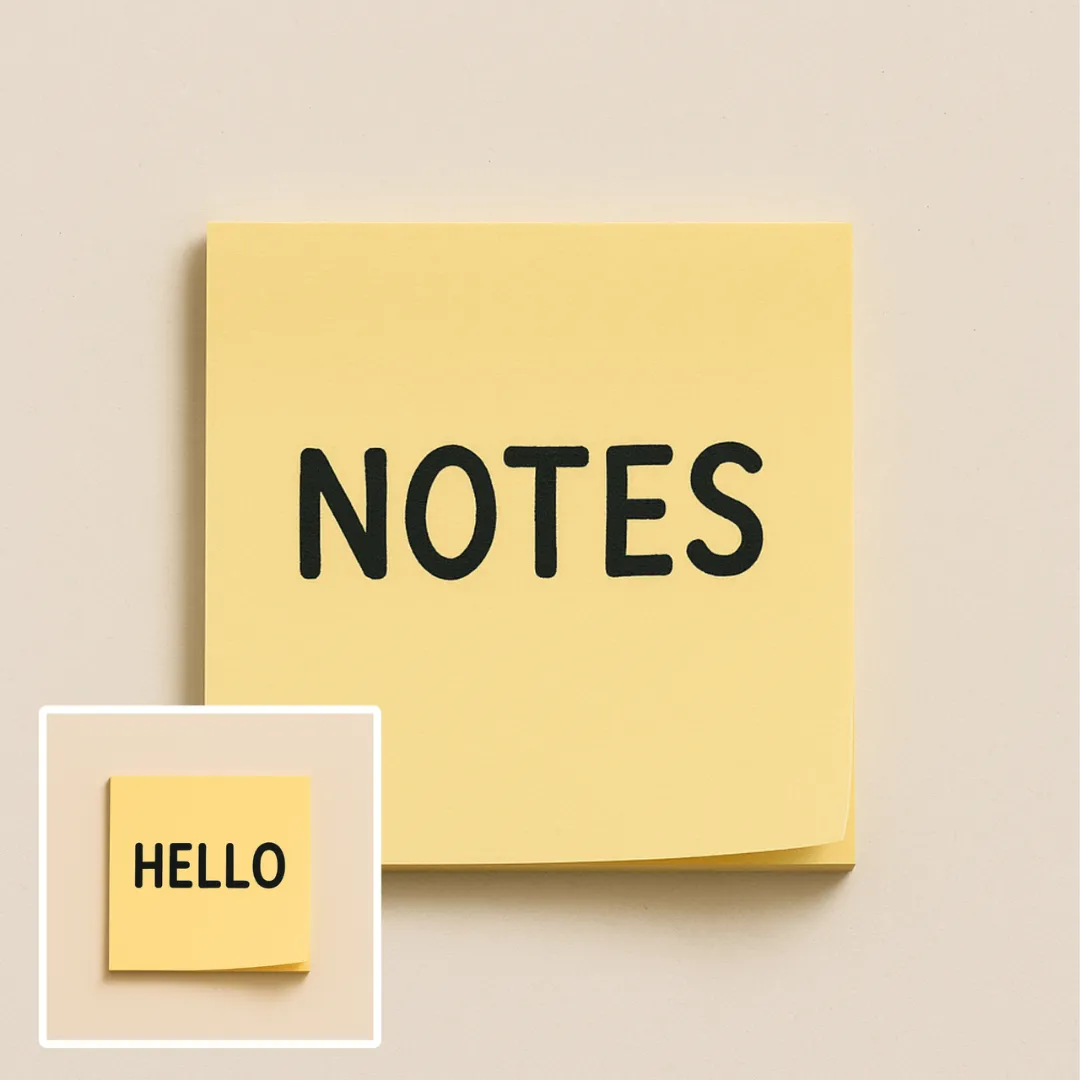
Edit or remove visible text with AI Edit Text in Image while preserving the surrounding layout. Check lettering, alignment, background texture, and the final crop before publishing.
Try Now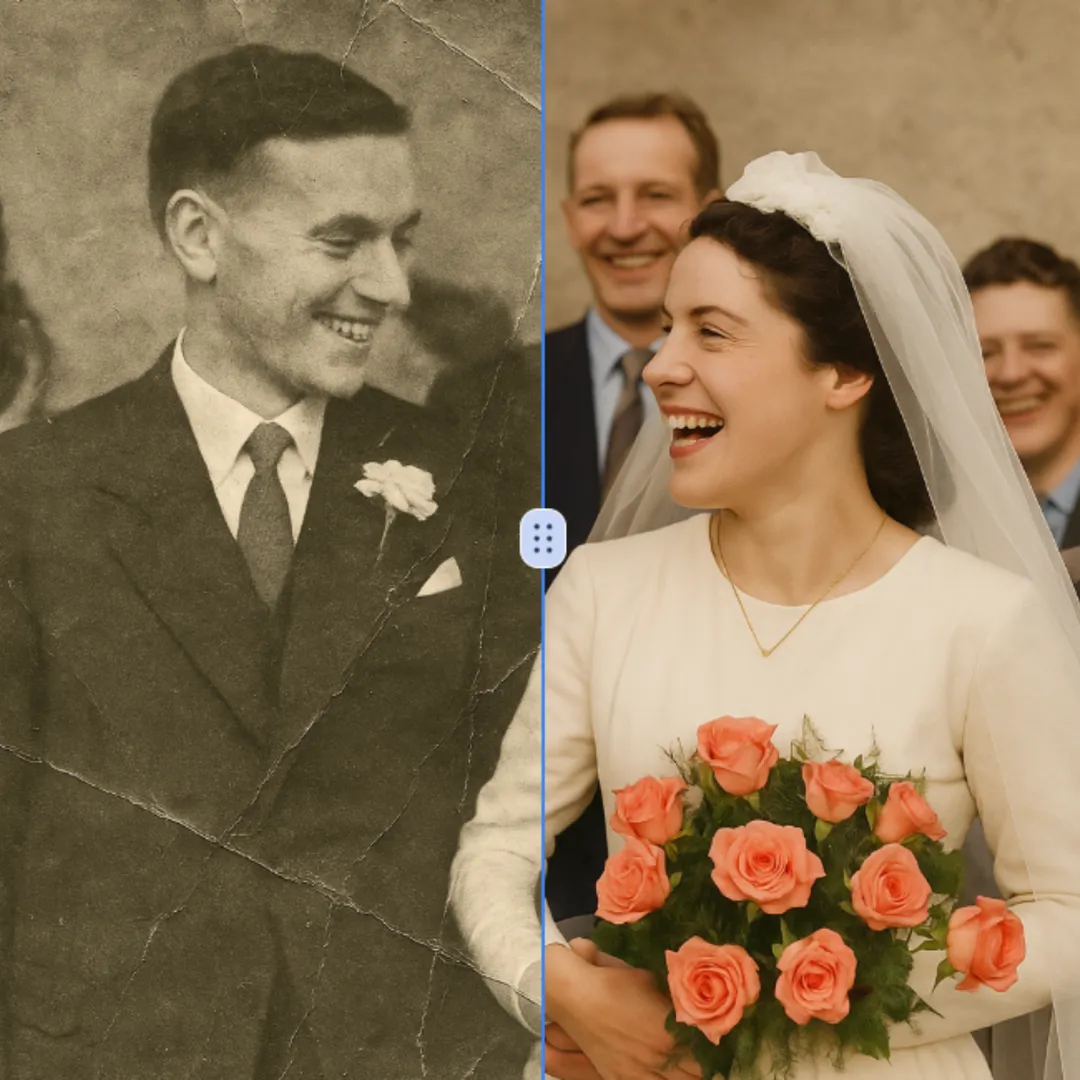
Improve visible image detail with AI Photo Restoration while keeping the original subject in view. Compare edges, faces, textures, and small text at the intended output size.
Try Now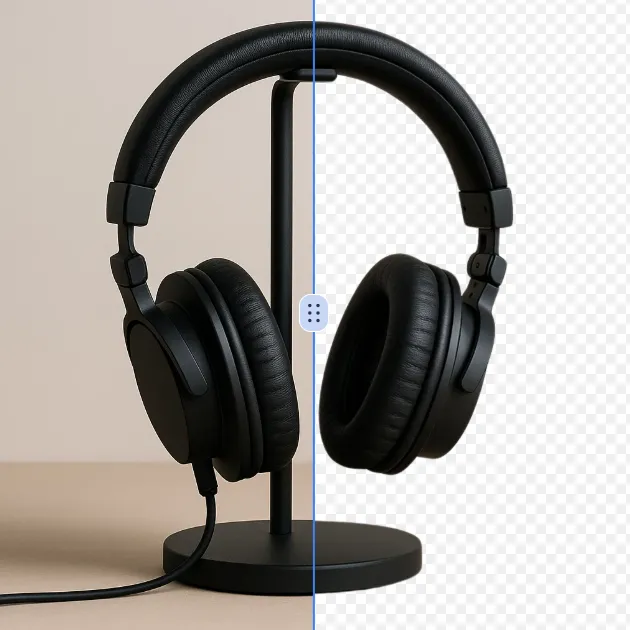
Remove a background from a photo or logo with AI Background Remover, then check subject edges, fine details, and transparency before using the cutout in a new design.
Try Now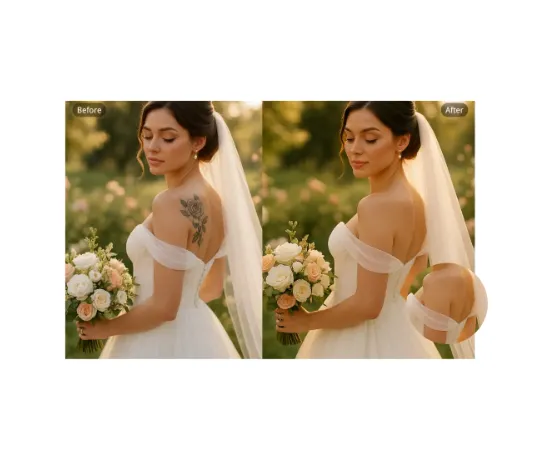
Use AI Remove Tattoo to target an unwanted overlay or localized detail in an image. Compare the edited area with the surrounding texture and correct visible seams before export.
Try NowUse Google to start creating and save your image. No card required.
 Continue with Google
 Remove the watermark, download HD images, and keep creating.
Credit Policy:
Secure checkout · Payment methods shown at checkout · Credits after confirmation