When to use this page
Start with the cleanest source available and compare the output at 100% before replacing the original.
Upscale a low-resolution image for a clearer preview, product asset, or social post. Check small text, faces, and fine edges after processing because enlargement cannot recreate every missing detail.
 編集後
編集後 Start with the cleanest source available and compare the output at 100% before replacing the original.
Check faces, text, product details, edges, and any rights-sensitive content. The generated result is a draft until you approve it.
Needing a picture to appear bigger than the file you hold is a different job from wanting it to look better at the size it already is. This pass leaves the framing alone — the tool description says the original subject stays in view — and spends its effort on visible detail. The engine listed for the page is nano-banana-fast, and the optional prompt box is where you add constraints to that work.
The built-in instruction asks for the photo to be taken past its current size, with enhanced sharpness and fine detail, while colours stay natural and textures stay realistic. That is the wording sent to the engine rather than a guarantee about the file you download, and no output dimension is stated anywhere on this page. Judge the deliverable by opening it at the size you intend to use, not by reading a number into it.
Those four are exactly what this tool's description names for comparison, and they are worth reading at full zoom on the enlarged file rather than on the side-by-side preview.
A source with real detail in it gives the pass something to enlarge. A file that is already heavily compressed, or genuinely soft where the subject should be crisp, offers noise blocks and blurred edges instead, and the result can look cleaner without looking truer. Upload the best copy you hold in JPEG, JPG, PNG, or WEBP, and keep the original beside the output so the comparison is honest.
about enlarging photos
No. This tool is described as improving detail while keeping the original subject in view, so it is a detail pass on your frame, not a reframe. If the composition itself is the problem, an enlargement pass will not fix it.
Treat recovery with suspicion. Sharpening what is present works well; inventing what is missing tends to produce smooth skin and unreadable lettering. Compare the faces and the small text from the list above before you decide the blur has improved.
It is optional. The hint on the field asks you to describe the subject, style, composition, and important details, so use it to protect specific areas: the eyes, a label, a pattern you need kept recognisable at the larger size.
No limit is published on this page, and no output dimension is claimed either. The upload control takes JPEG, JPG, PNG, and WEBP; if your file is unusually large, check what the panel accepts before assuming it will pass.
Upscale a low-resolution image for a clearer preview, product asset, or social post. Check small text, faces, and fine edges after processing because enlargement cannot recreate every missing detail.
Compare the result with the original, inspect the details that matter to your task, and keep the original until the output is approved.
画像を強化・変換するための、AIを搭載したツールをさらに見つけましょう。

Edit or remove visible text with AI Edit Text in Image while preserving the surrounding layout. Check lettering, alignment, background texture, and the final crop before publishing.
今すぐ試す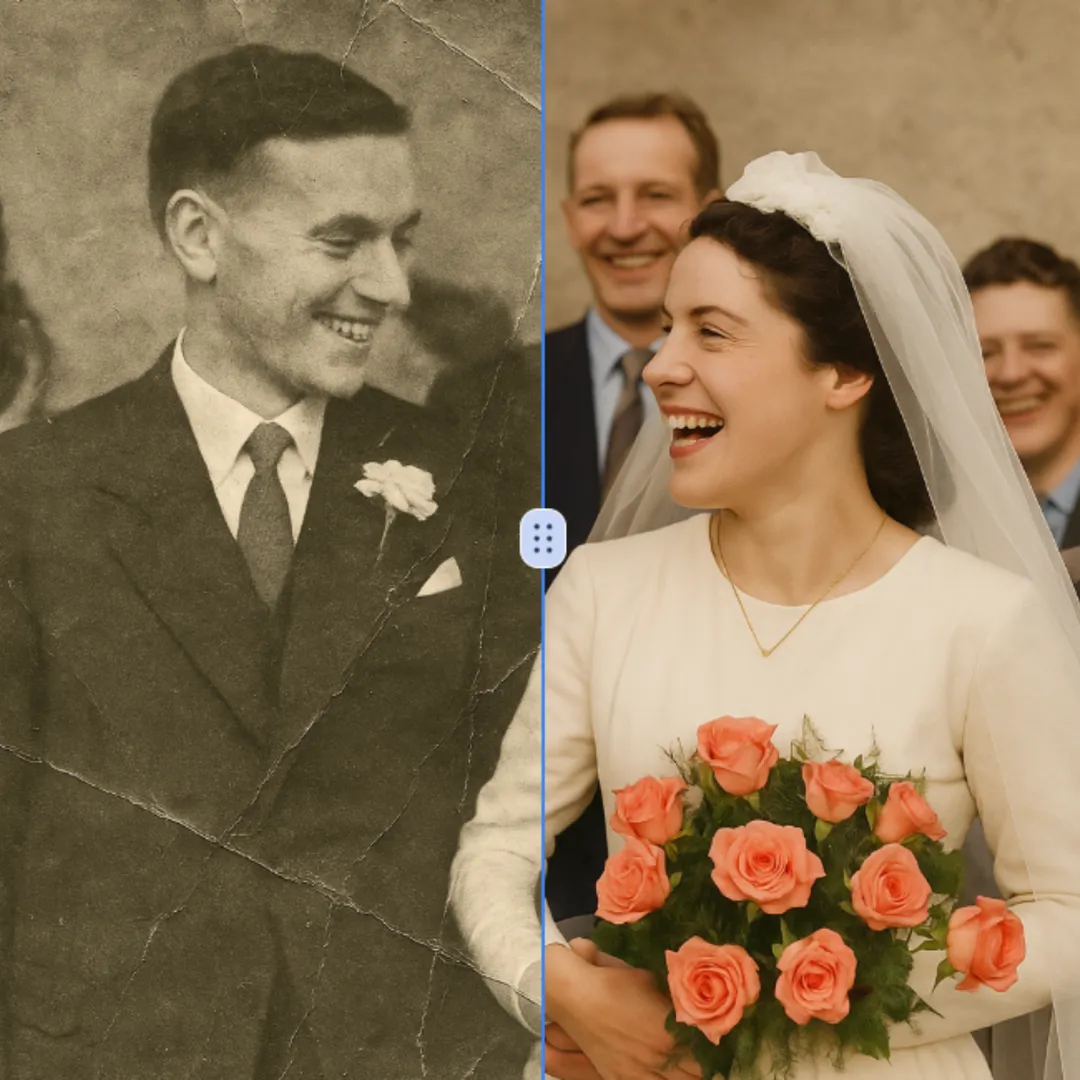
Improve visible image detail with AI Photo Restoration while keeping the original subject in view. Compare edges, faces, textures, and small text at the intended output size.
今すぐ試す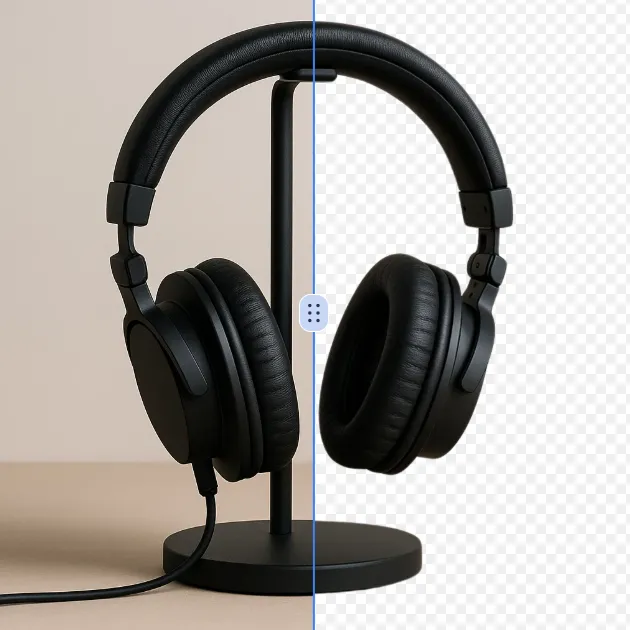
Remove a background from a photo or logo with AI Background Remover, then check subject edges, fine details, and transparency before using the cutout in a new design.
今すぐ試す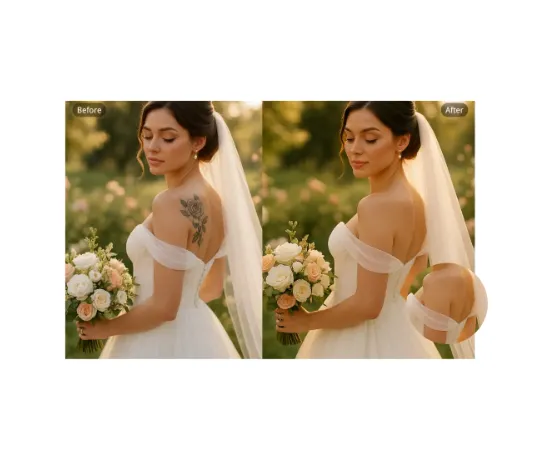
Use AI Remove Tattoo to target an unwanted overlay or localized detail in an image. Compare the edited area with the surrounding texture and correct visible seams before export.
今すぐ試すRemove the watermark, download HD images, and keep creating.
クレジットポリシー:
安全なチェックアウト · 利用可能な決済方法を表示 · 確認後にクレジット追加
 Googleで続ける